

Hot Fashion Design How-Tos


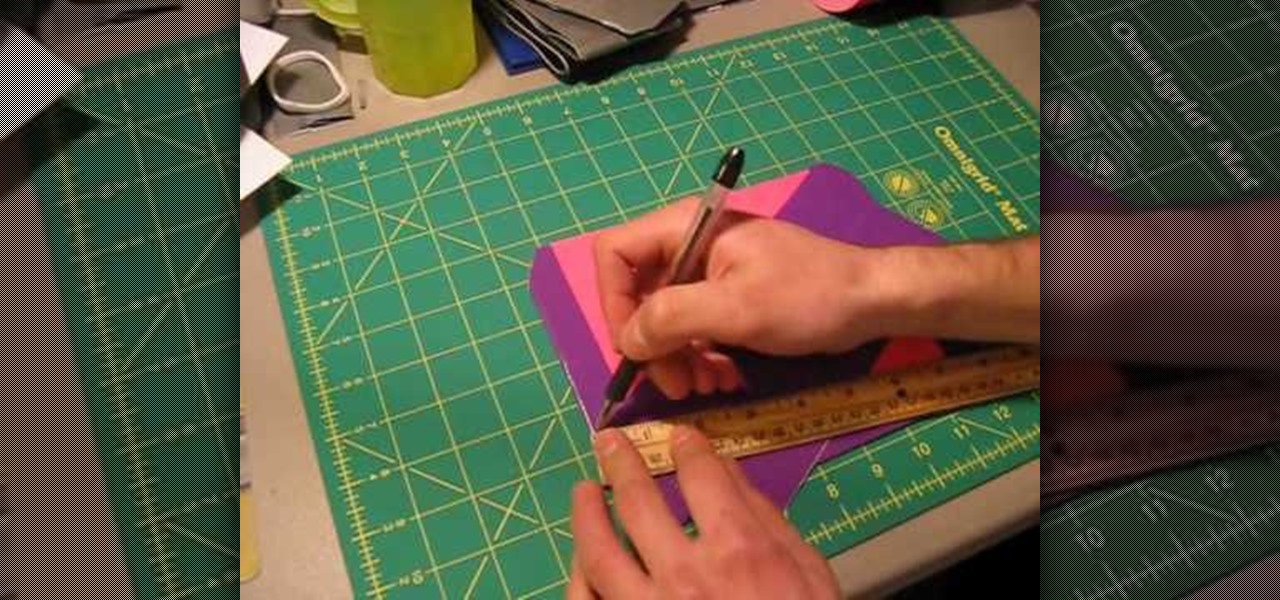
HowTo: Hold-No-Secrets Transparent Clutch
Like the anti-privacy spy doorknob, the transparent clutch isn't for someone with something to hide. But for those who hold no secrets, there's something truly elegant about the design, which has made an appearance on several different high fashion runways:
How To: Make a reversible polar fleece dolman sleeve jacket
This jacket requires very little fitting and is easy to make, which makes it an ideal idea as a gift. This tutorial shows you how to take any pattern for a dolman sleeve jacket and turn it into a reversible jacket. Make it out of polar fleece for a lovely winter coat.

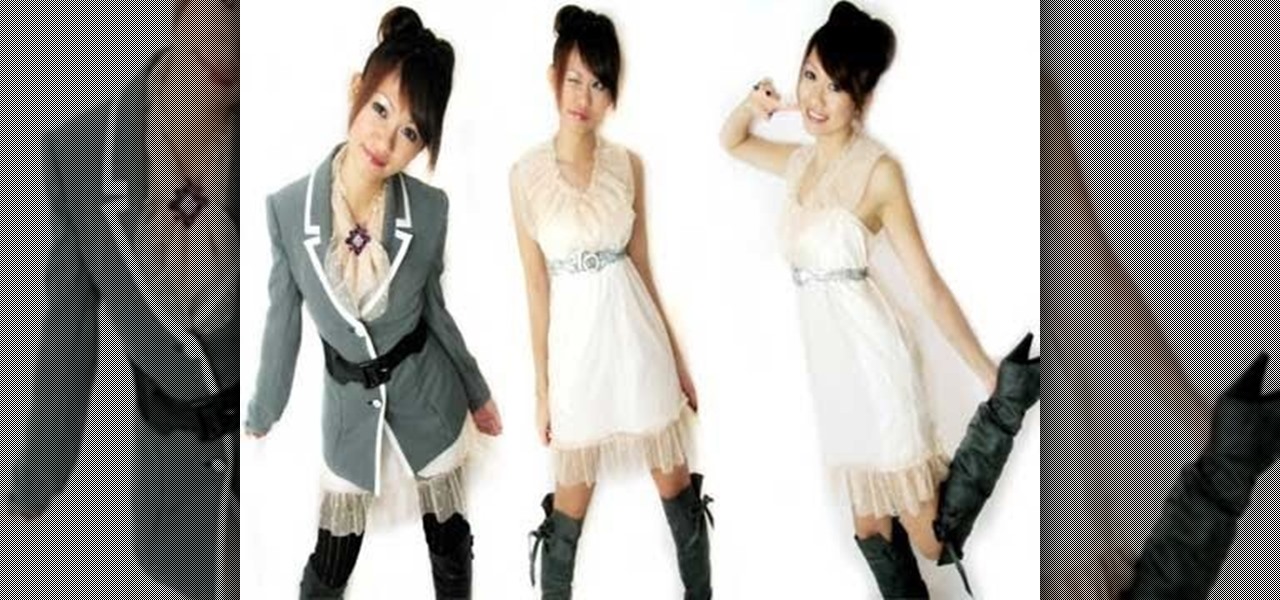
How To: Make over a bland and boring blazer into something exciting
Have a boring, outdated blazer or jacket in your closet? This tutorial gives you some great ideas on how to turn a boring white linen blazer into something a little more stylish and trendy. You will need a sewing machine for most of these ideas.
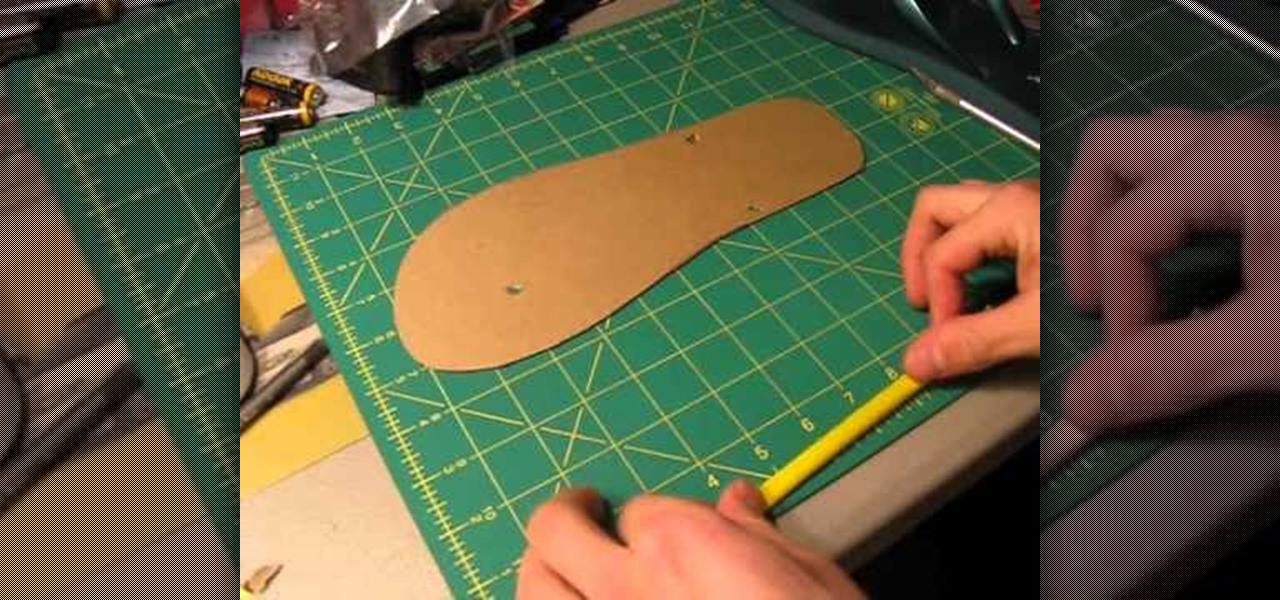
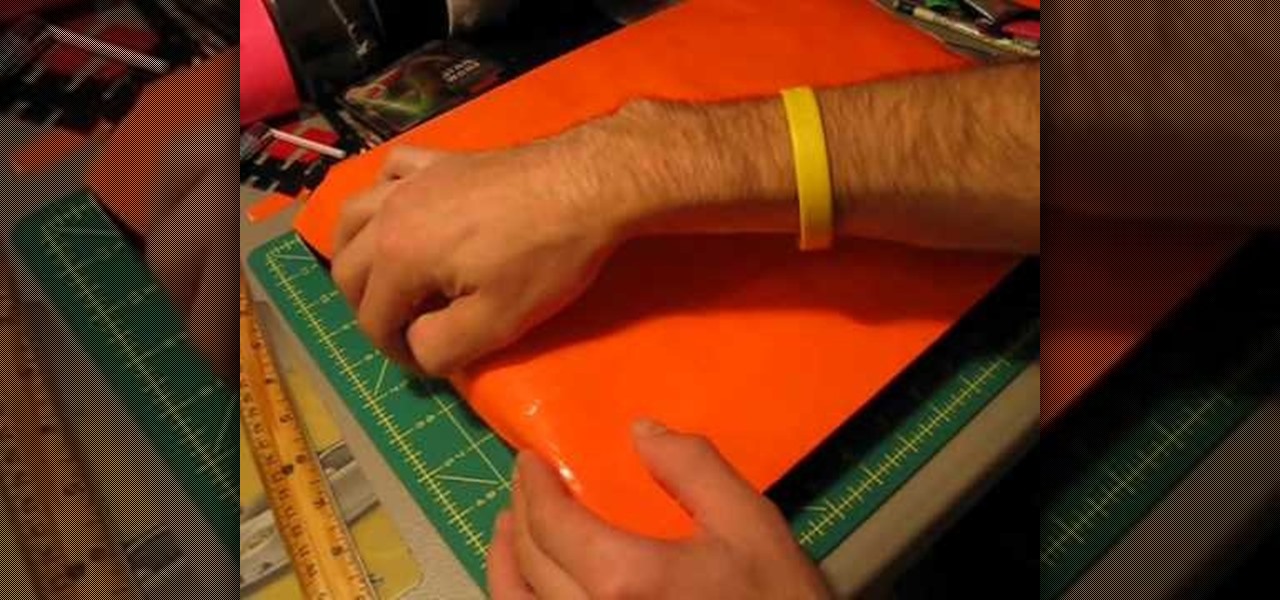
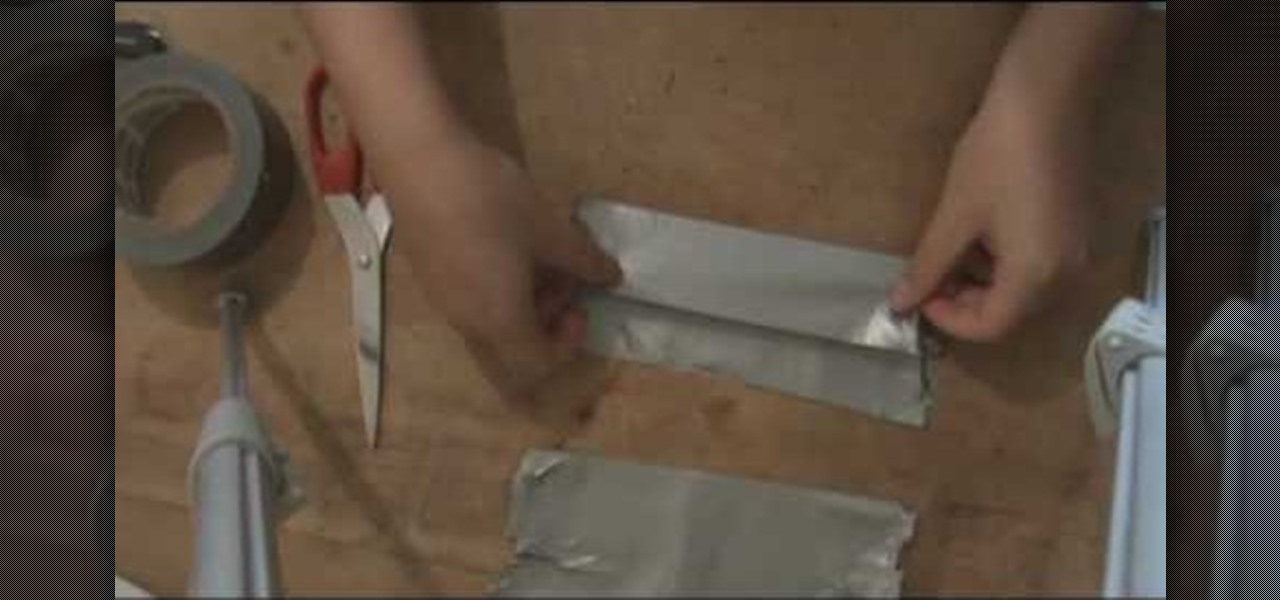
How To: Make your own pair of flip flop sandals out of duct tape
Of course you can make anything out of duct tape - even shoes! This tutorial shows you how to take your foot measurements and then use that to make your own pair of flip flops or thong sandals out of duct tape.
How To: Make a cute ruffled holiday dress without a pattern
You can make this dress easily and without needing a pattern at all. This has been made using white fabric, but you can use any color or pattern that strikes you - use a holiday print for some extra festivity!
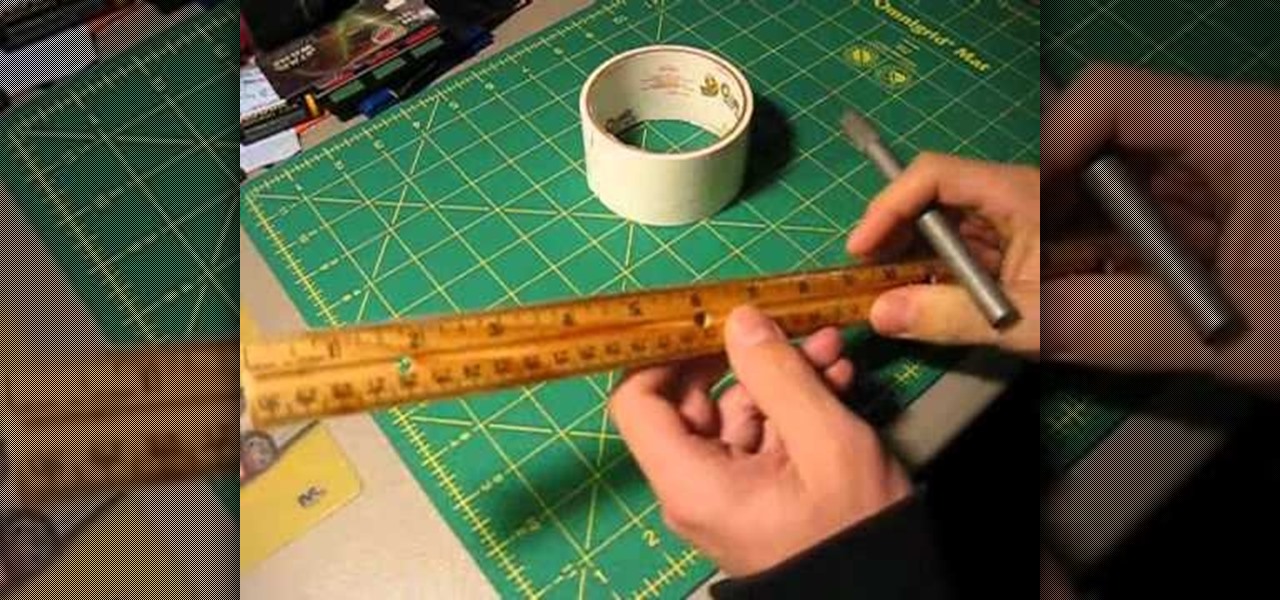
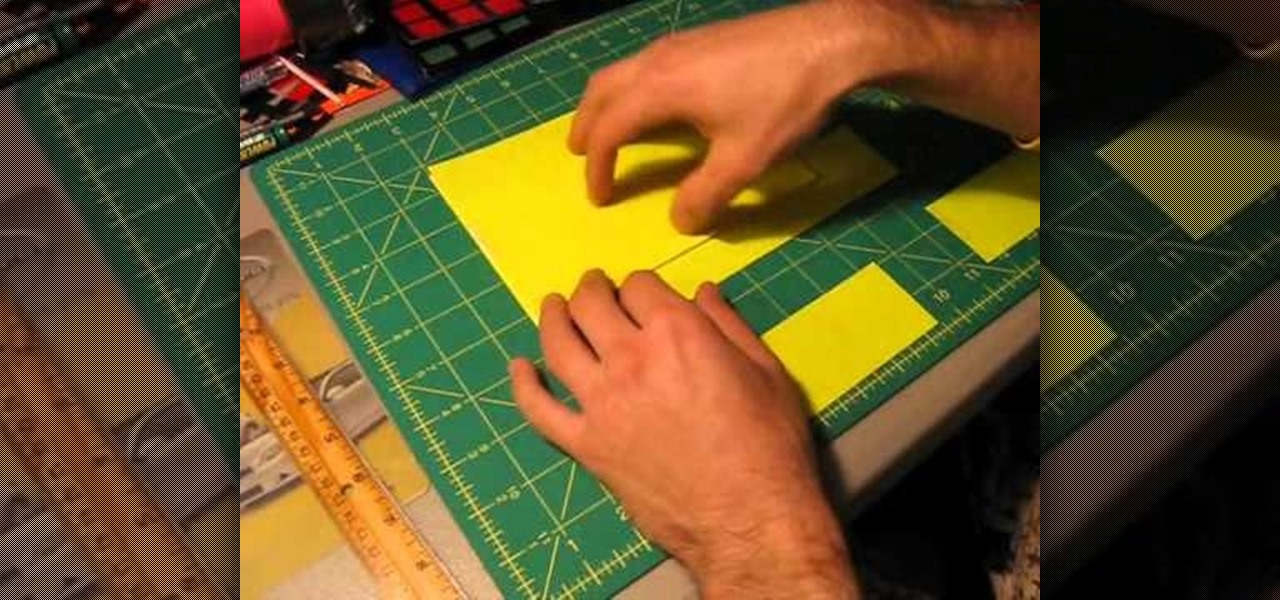
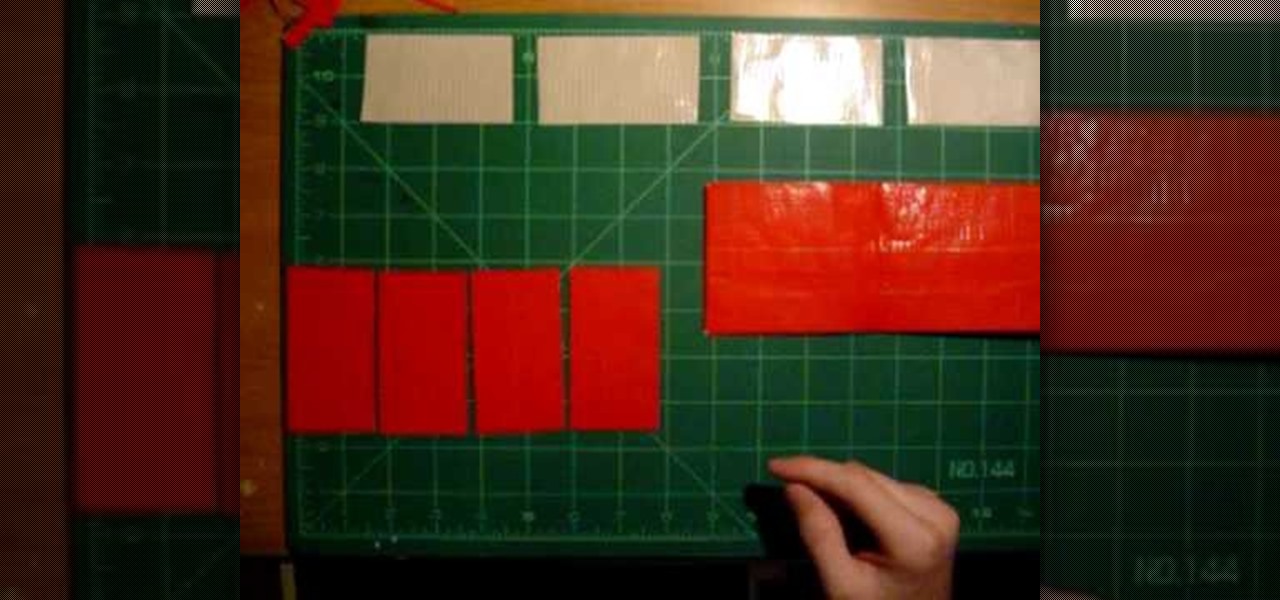
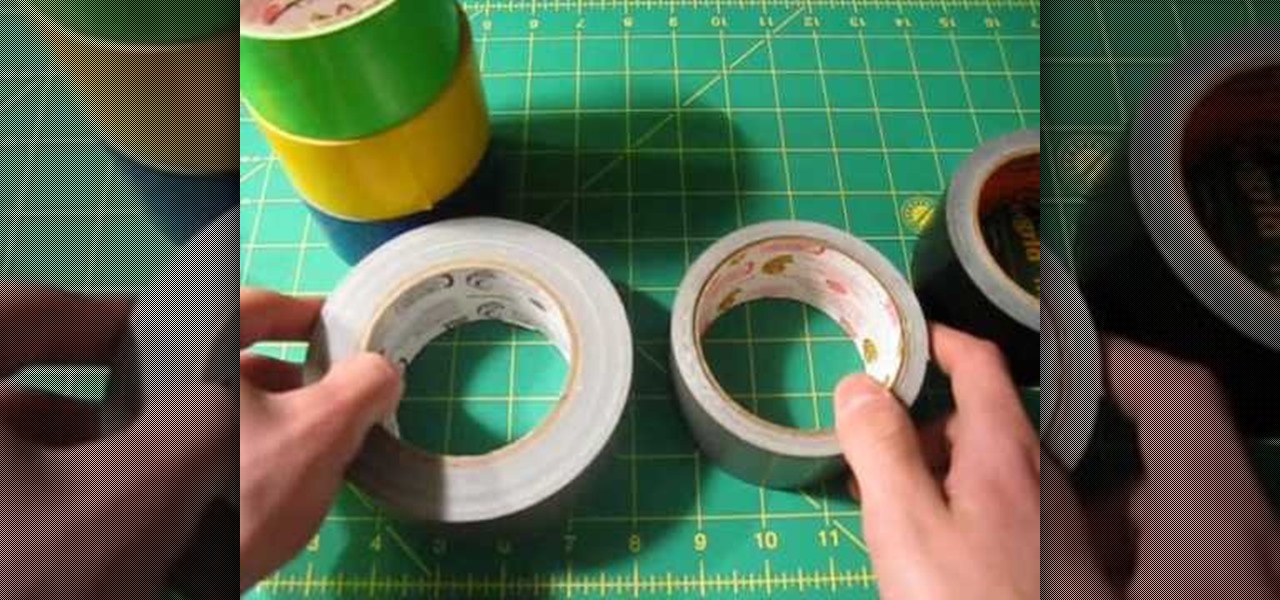
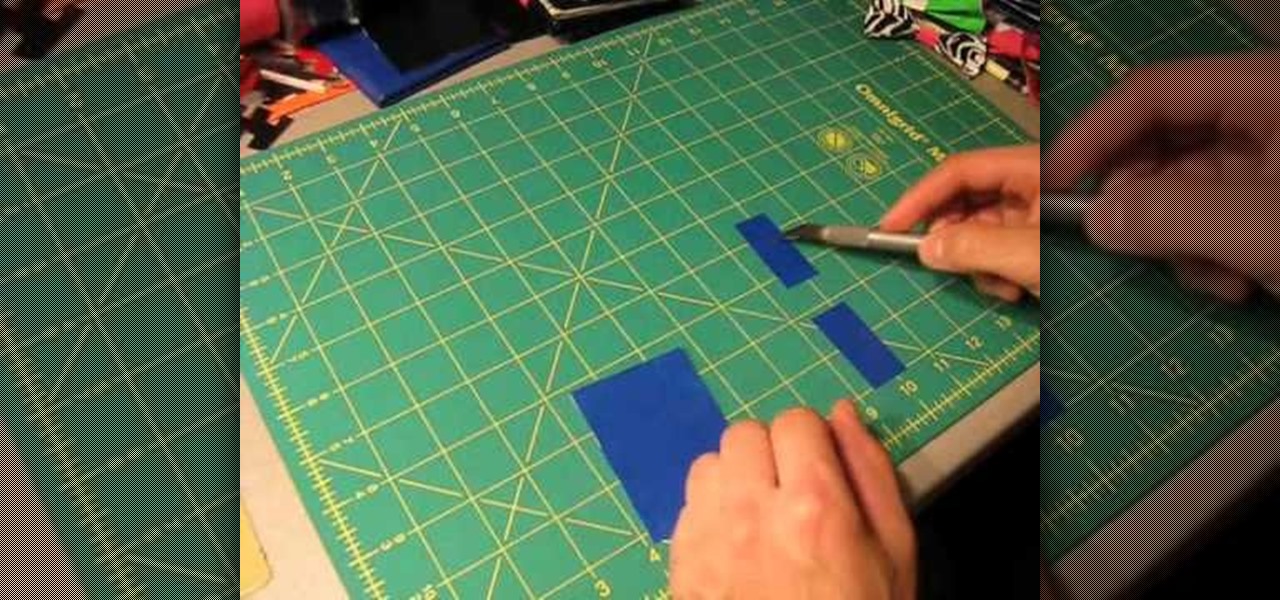
How To: Effectively cut duct tape for your duct tape crafts
Any duct tape project starts with pieces of duct tape that have been cut with clean, sharp edges. But how you can you get that for yourself? This tutorial shows you how to use craft knives and cutting mats to perfectly cut your duct tape.
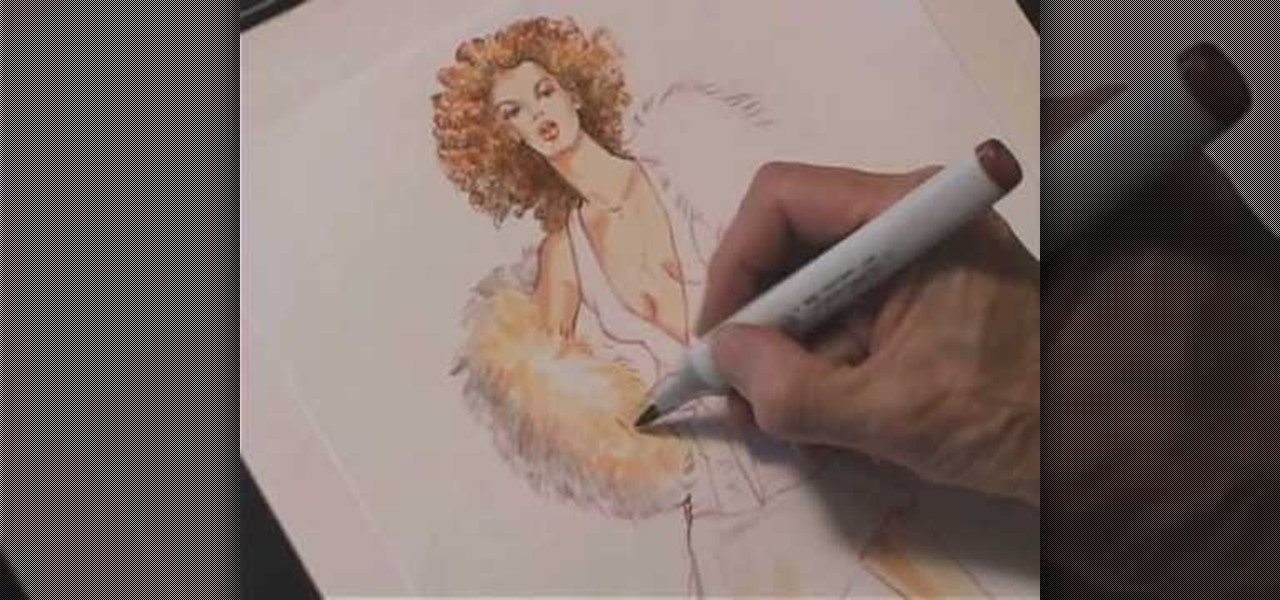
How To: Fashion sketch satin
In this tutorial, we learn how to fashion sketch satin. When you are sketching satin, you would to make sure you use the right colors and the side of the pencil. You will need to use the side of the pencil to shade in small areas to create creases and folds in the clothes. Then, you will use the eraser to make white in the middle, which will create a shine on the skirt. Color in the rest of the area around the piece of clothing. It doesn't have to be perfect, just make sure you shade and use ...
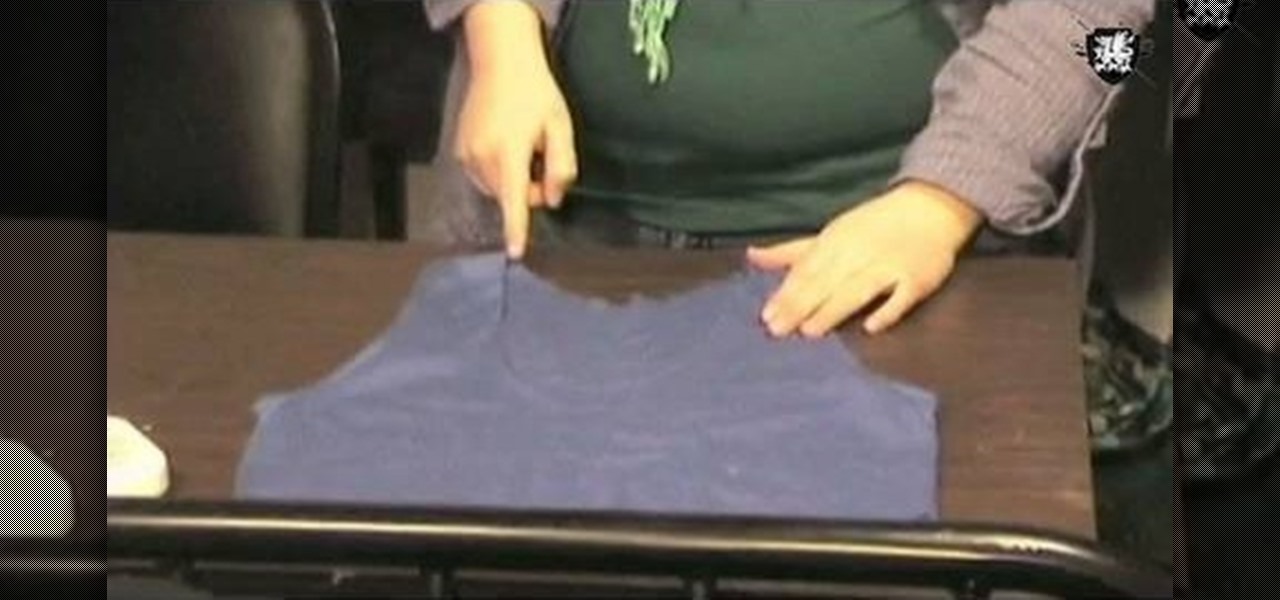
How To: Make a summer party dress with Threadbanger
In this tutorial, we learn how to make a summer party dress with Threadbanger. First, take a tank top and mark right under your boobs with a pencil. Then, lay it down on the fabric you want to use and outline it, making sure there is extra seam allowance. Cut one that will be your back and the front. Next, cut off the bottom of the two pieces that you cut, making sure you leave extra allowance again. After it's cut out, sew them all together to make a cute dress for the summer! Adorn with any...

How To: Make a hippie chiffon one shoulder top
This is a video tutorial in the Fine Art category where you are going to learn how to make a hippie chiffon one shoulder top. The materials you will need are chiffon, studs, elastic thread and elastic. Use a simple tank top pattern to cut out the chiffon. Elongate the center of the fabric; this will give it the flowy look. Shirr 5 rows into the middle of the fabric making sure the elastic is on the wrong side of the fabric. Fold in half, right sides together. Sew the side seam and the shoulde...
How To: Make an iron on transfer for a t-shirt
In this tutorial, we learn how to make an iron on transfer for a t-shirt. The materials you will need are: a printer, an iron, hard surface, transfer paper, and t-shirt! To start, find the art that you want to put on your picture and then you will need to transfer it onto the paper for your shirt. Once this is fully transferred with the scanner, load it to your computer. Then, print it out on transfer paper. After this, you will place the paper down on the shirt and iron it for a few minutes....
How To: Make a cute holiday outfit for your pet dog
Want a fun way to dress up your dog for the holidays? This tutorial shows you how you can whip up a cute little doggie outfit! You're also shown how to make a few fun holiday treats, like chocolate pretzels!
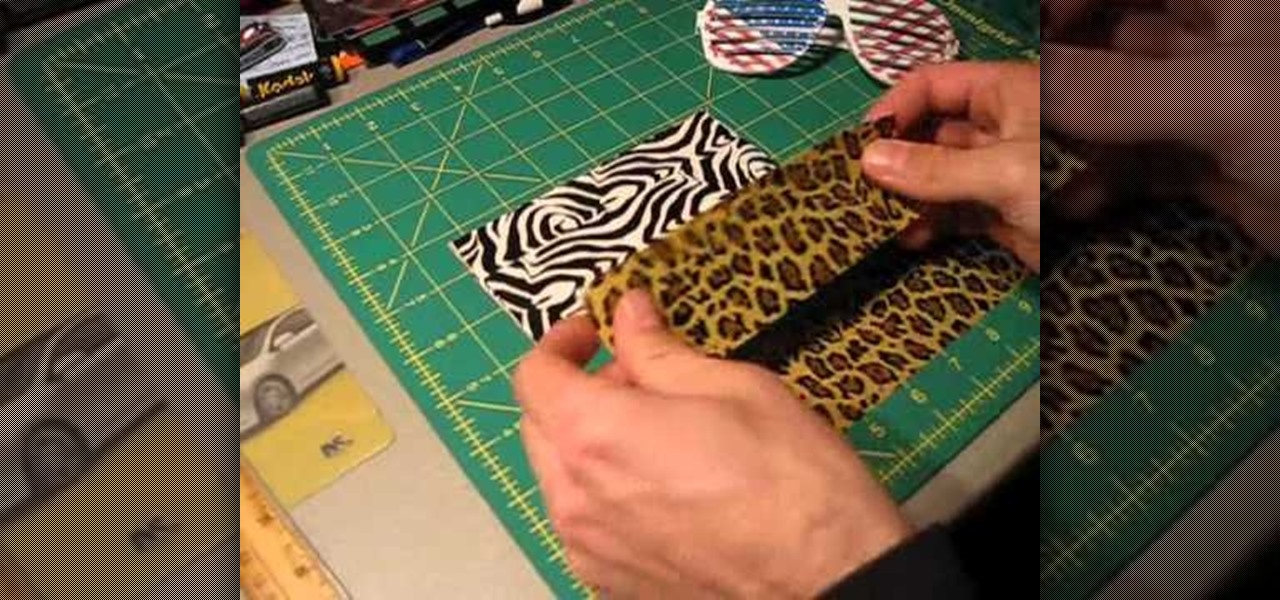
How To: Make a holder for your sunglasses out of duct tape
This mini tutorial will show you how to create a holder or case for your favorite pair of sunglasses. Of course, this tutorial will also work if you want just a regular glasses case, too! Make sure you have a ruler or measuring tape to measure the dimensions of your glasses.
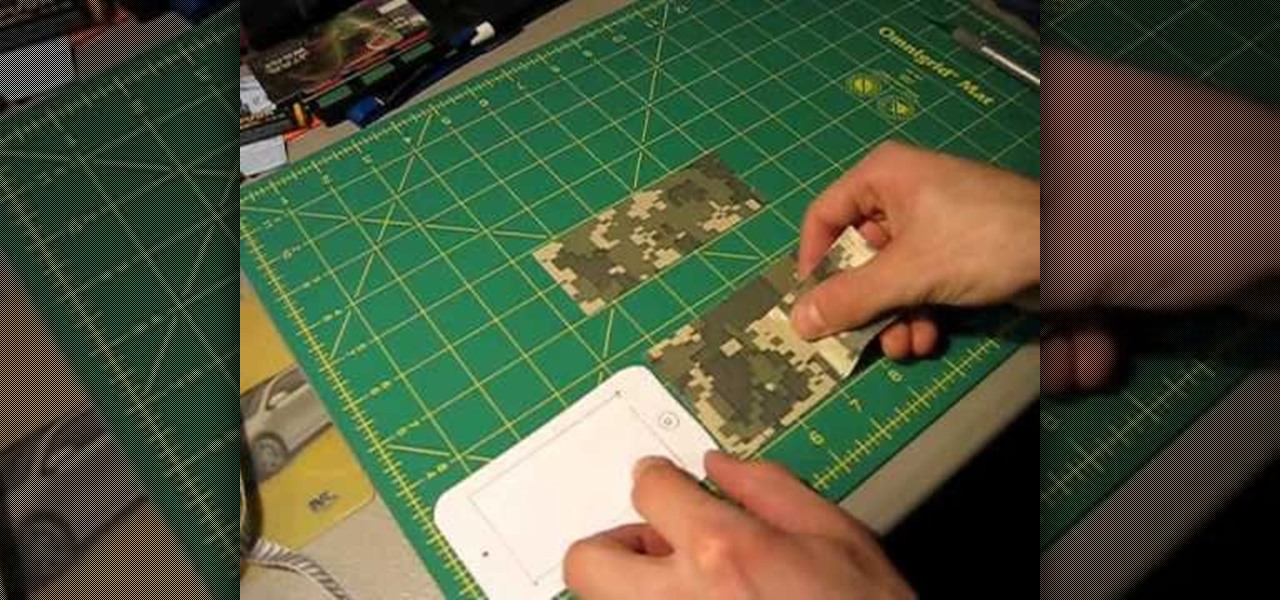
How To: Make a holder for your iPhone or iPod Touch out of duct tape
This tutorial will work for either your iPod Touch or iPhone, and you can make a holder for it out of duct tape. Protect all your expensive electronics with this unique and trendy way to make a holder for it!
How To: Make a laptop case out of duct tape
Here's an ambitious project! Make sure you have enough duct tape before you start this project, and take the meaurements of the laptop you're building the case for. Then, follow along and have a 100% duct tape case for your computer.
How To: Make a yo-yo holster out of duct tape
Become the fastest draw in the west! At least, when it comes to yo-yos. This inventive tutorial shows you how to turn a few strips of duct tape, six inches long each, and make a holster for your favorite yo yo.

How To: Make an applique that you can use on latex clothes
Latex can be a sexy and cool material to make fabric out of, but a plain black latex shirt can still be a bit boring. You can create your own appliques that you can apply to latex clothing using sticky paper.
How To: Make a tuxedo wallet out of duct tape
Another fun duct tape tutorial! This one teaches you how to make the popular tuxedo wallet out of duct tape. All you need is a few pieces of black duct tape and a few pieces of plain silver duct tape.
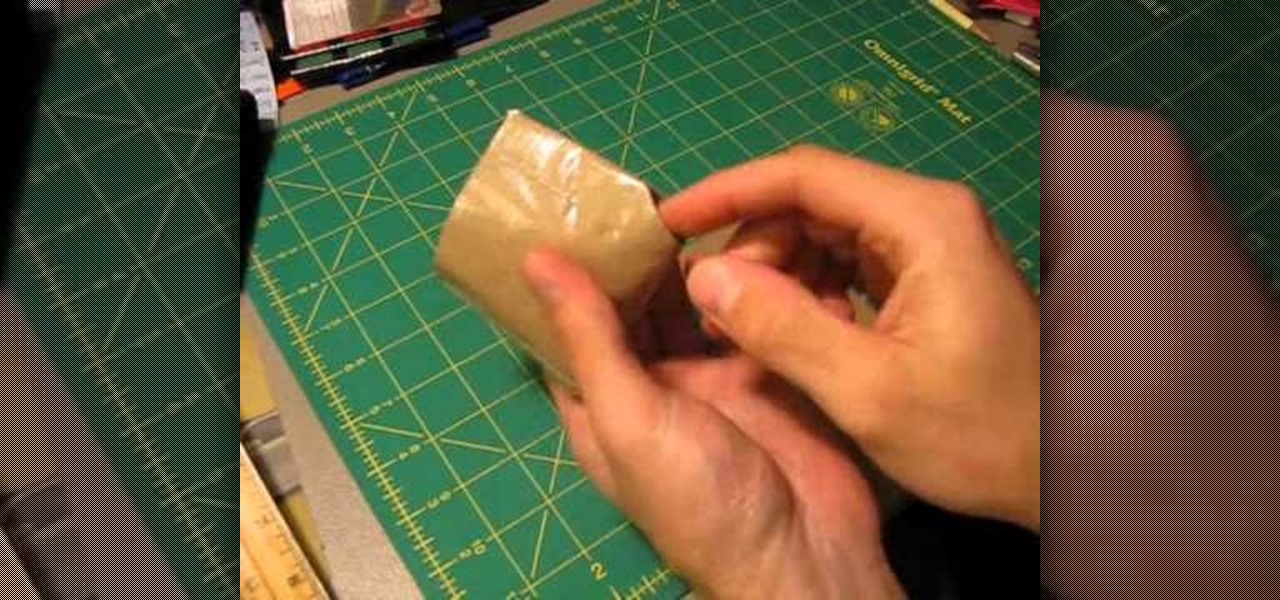
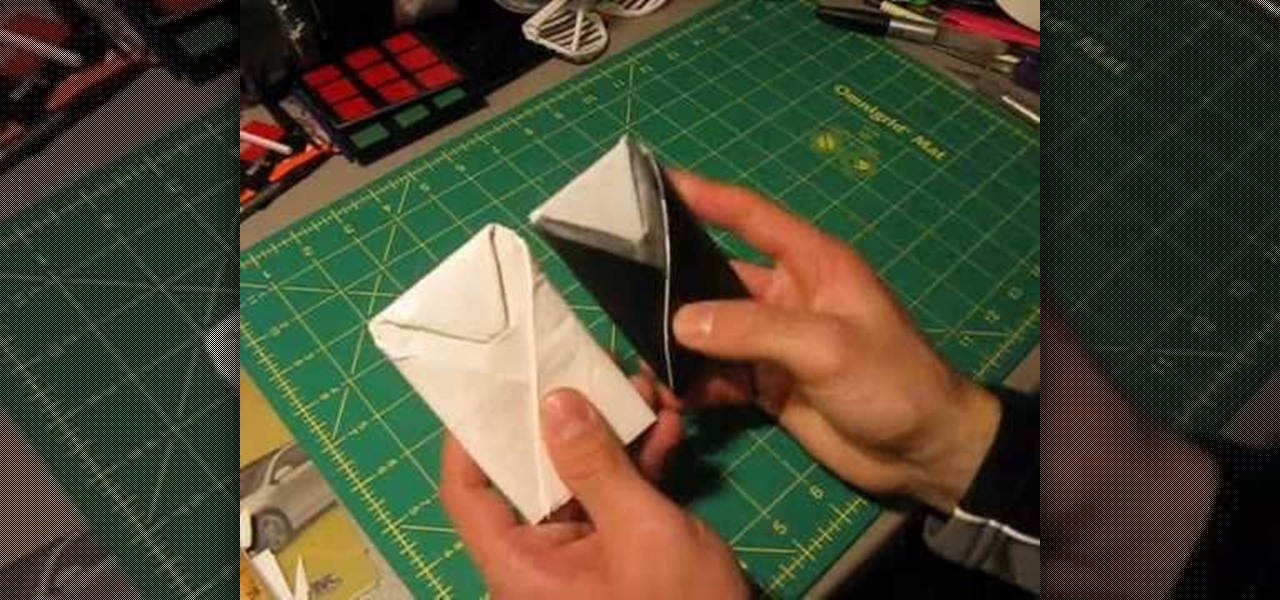
How To: Make an envelope for a greeting card out of duct tape
Make a clever envelope for your next greeting card recipient! You'll need six strips of tape, seven and a quarter inches long, in whatever colors you prefer. The follow the outline in this video to make your own perfectly functional envelope!
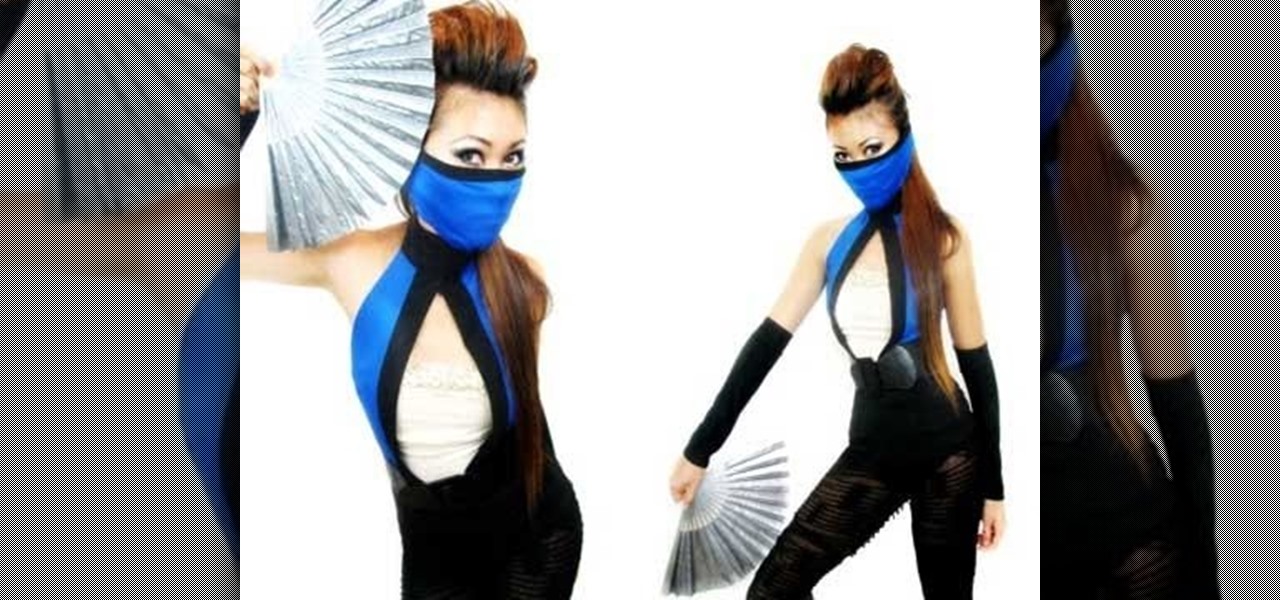
How To: Make a fierce Kitana from Mortal Kombat costume for Halloween
Not just for Halloween, this tutorial is great if you want to cosplay Kitana, too. All you need to put this costume together is some black pants, and then a little blue and black fabric. This tutorial shows you how to make an amazing Kitana costume - all you need now are her fans!
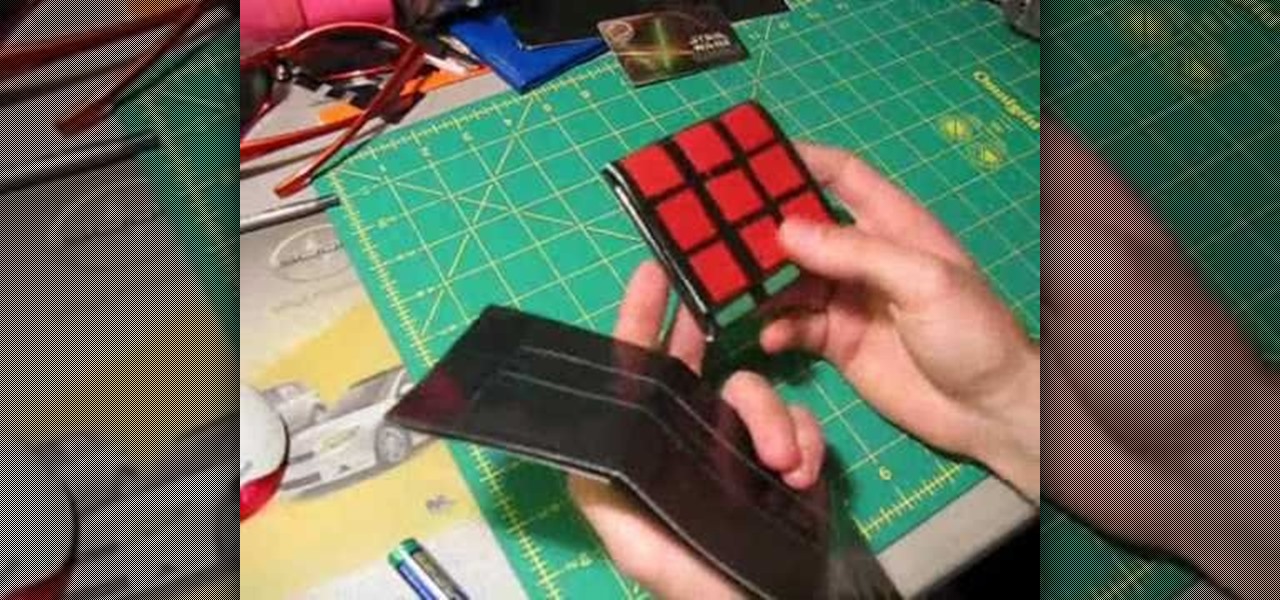
How To: Make a Rubik's Cube wallet out of colored duct tape
Make a basic tri-fold wallet out of duct tape, but add two extra flaps that let it fold out into a cube. And each cube face has the square box pattern associated with Rubik's Cubes, so it looks like an actual toy when you unfold it. You can make the whole thing just using a few different colors of duct tape.
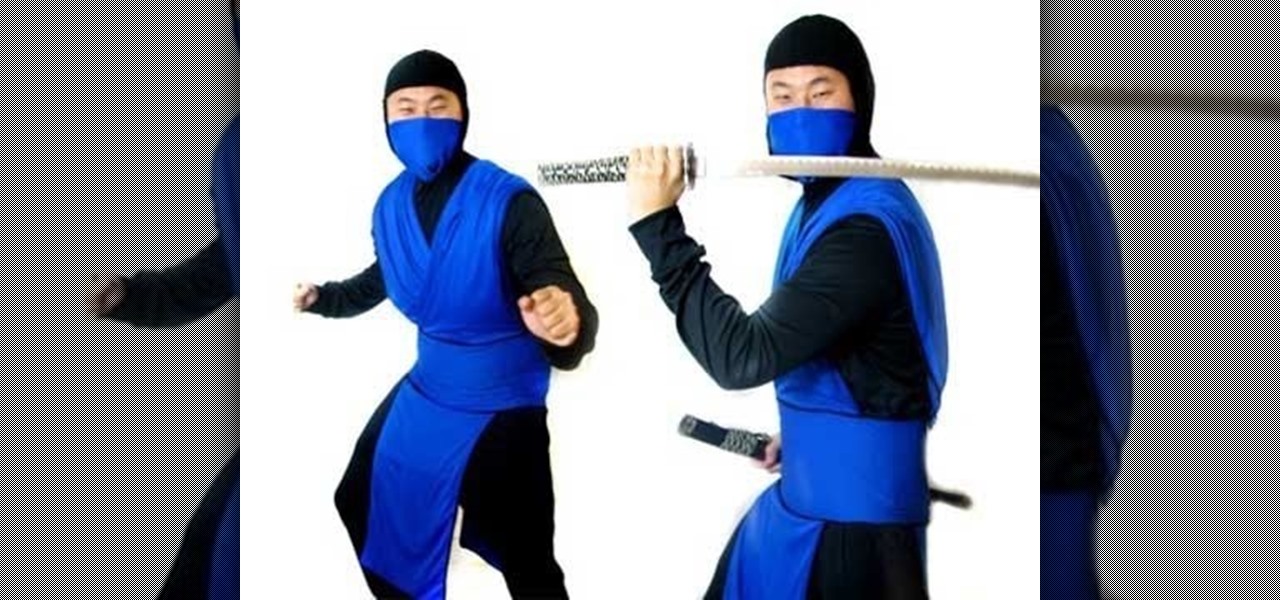
How To: Make your own costume based on Sub Zero from Mortal Kombat
This tutorial comes just in time for Halloween, but you can use it for cosplay as well. This is a very easy costume to make - all you need is a basic black outfit, and then assemble the blue rectangles to make the mask, obi and tunic.
How To: Craft a bi-fold duct tape wallet
In this video we learn how to craft a bi-fold duct tape wallet. First, cut four pieces of duct tape 7.5 inches long and another slightly shorter. For the first two pieces, connect them so they are overlapping each other, then place the other two on top of them. After this, take the other piece and tape it on the top so it's a flap. Then, make one more of these the exact same way. Once you have both sides, you will place one on top of the other and line them up. After this, grab a piece of tap...

How To: Make a fashionable hat from duct tape
In this tutorial, we learn how to make a Duct tape hat. First, grab a hat that you want to duplicate and measure it out with a piece of paper. Then use this piece of paper as reference to how you will cut your pieces of duct tape. Now, cut the duct tape and stick them together to create the top of the hat. After this, you will connect the other areas of the hat together and make the bill of the hat. This will need to be thicker than the other areas and you will also have to cut it into a curv...

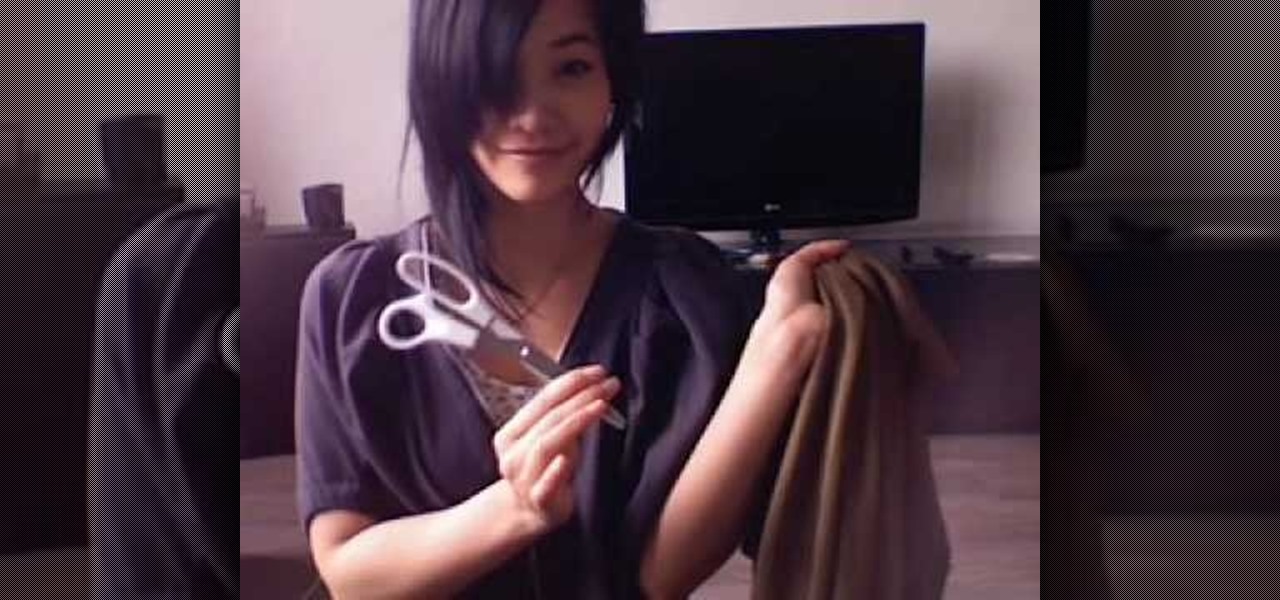
How To: Turn an old scarf into a purse with Threadbanger
In this tutorial, we learn how to turn an old scarf into a purse with Threadbanger. First, you will grab your old scarf and tie it at the ends, making a knot. After you have tied each of the ends, bring the opposite ends together and tie them together into a knot. After this, do the same on the other side. Now, you will have two handles and a hobo type of purse to carry around! This is a great way to use a scarf that you aren't going to wear. You can make this however you would like using dif...

How To: Make a Kufi cap with Threadbanger
In this tutorial, we learn how to make a Kufi cap with Threadbanger. First, grab a thick black jersey material and your added material of choice. Cut the fabric in a circle pattern to make the size of your head. Then, cut the band material for 3 inches longer then your head measurement. Fold the material and create the bands with thick cardboard. Once you do this iron the bands down and then fold the added material down as well. Adhere the piece pieces together while still folded, then sew th...
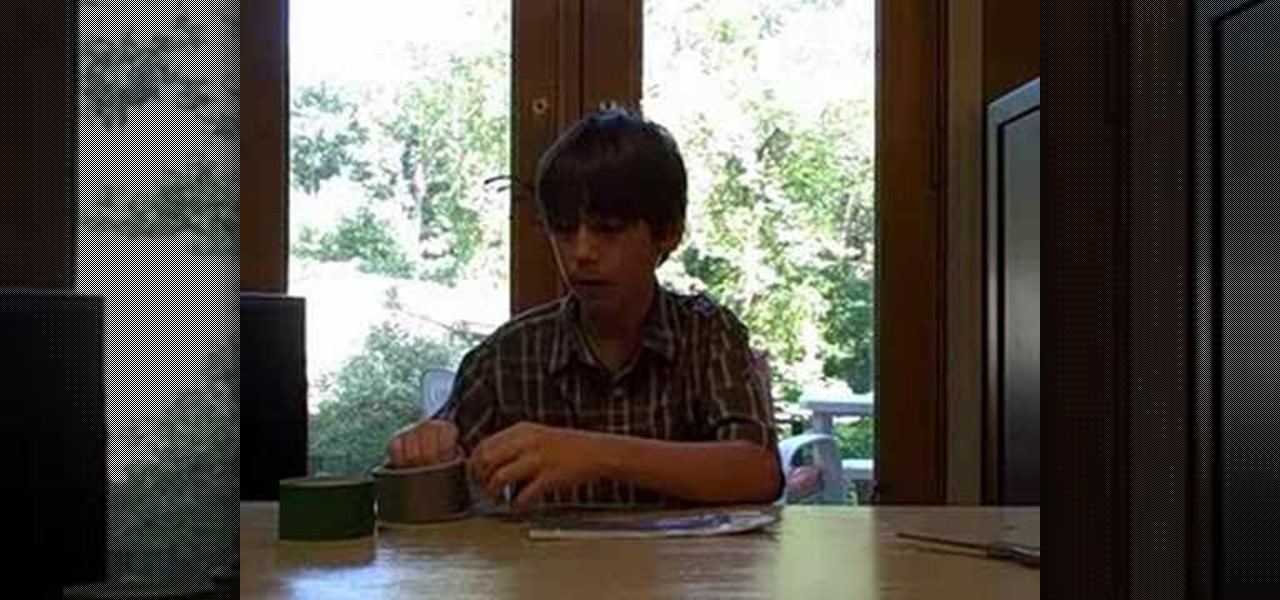
How To: Choose the right duct tape for craft projects
In this video, we learn how to choose the right duct tape for craft projects. There are many different choices for colors of duct tape available, so you can choose this by the preference you have. There is also craft duct tape and professional duct tape. The craft duct tape is good for projects and the professional is good for making a book bag or something larger and more heavy duty. The Gorilla Tape is very thick and should be used on projects where they are not supposed to bend very much. ...
How To: Make an advanced duct tape wallet with pockets, card slots and change purse
What's the cheapest wallet you can afford? With today's prices, you're better of with a DIY wallet, and the best material for the job— duct tape. This two-part video will show you the short steps to making a duct tape wallet that has everything— bill pocket, card slots and change purse. This is a fully functional duct tape wallet! Give it a try.
How To: Make a duct tape wallet with a change pocket
In this video, we learn how to make a duct tape wallet with a change pocket. First, grab your favorite color of duct tape and then place some down on a flat surface with the sticky side up. Overlap these until you have the desire size you want, then fold the edges over. After this, apply the sticky side down to this and you will have a nice little wallet that is made between them connecting to each other. Make the change pocket by doing the same process, just use a smaller piece and connect w...
How To: Make a purse or handbag out of duct tape
In this video we learn how to make a purse or handbag out of duct tape. Start out with your duct tape and a flat surface. each piece needs to be 8 inches long and laid out in front of you. Then, stick these on top of each other. Once you do this with two, take your other pieces and overlap them, then connect them together. After you have the four strips together, use a different color around the edge of this, making it with the same process. Now you will have a pouch, which will be your purse...

How To: Create a steampunk bellydancer's belt out of leather and beads
It's not a real steampunk outfit unless you've got a really awesome belt to go with it! This tutorial shows you how to start with a plain leather belt and then add chains, beads and other accessories to create a steampunk style belly dancer or gypsy belt.

How To: Make a steampunk style deep sea diving helmet
Start with an old school globe, then dismantle it and remove the printed paper map. Then build up the shoulder and neck area with Chavant clay and cover up the seam. Cut a few holes in the globe and attach a few extra accessories. Then add a coat of paint and you have your own deep sea diving helment for your next steampunk adventure!
How To: Customize a T-shirt with the Kandi Kane hotfix tool
Add a bit of sparkle and pizzaz to your wardrobe! This short tutorial demonstrates how you can add small crystals in whatever pattern you want using the Kandi Kane hotfix wand to add color, sparkle and your own unique touch.
How To: Create a creepy 'escaped experiment' costume for Halloween
Taking a little bit of horror from a variety of different sources, you can put together a very creepy, very scary costume that makes you look like a cross between Frankenstein's monster and Hannibal the Cannibal, with a few steampunk touches.
How To: Put together a cool and scary Halloween costume just out of your closet
Out of time and/or money to put together a costume for Halloween? Don't give up! You can make a variety of interesting and creepy Halloween costumes just by raiding your closet. Here are a couple good ideas for simple but effective costumes.

How To: Make a steampunk top hat out of a paper coffee cup
The ultimate in repurposing fashion. Start with an empty, clean paper coffee cup. Then cut off the rim, make your own brim and then paint and add your favorite decorations and accessories. You'll end up with a lovely neo-Victorian or steampunk tiny top hat!
How To: Make a belt out of duct tape and a little hardware
Is there nothing duct tape can't do? It turns out that duct tape can hold up your pants, and in more ways than one! All you'll need is a belt buckle or pair of D-rings, and a roll of duct tape in your preferred color. Then follow the tutorial to make your own duct tape belt
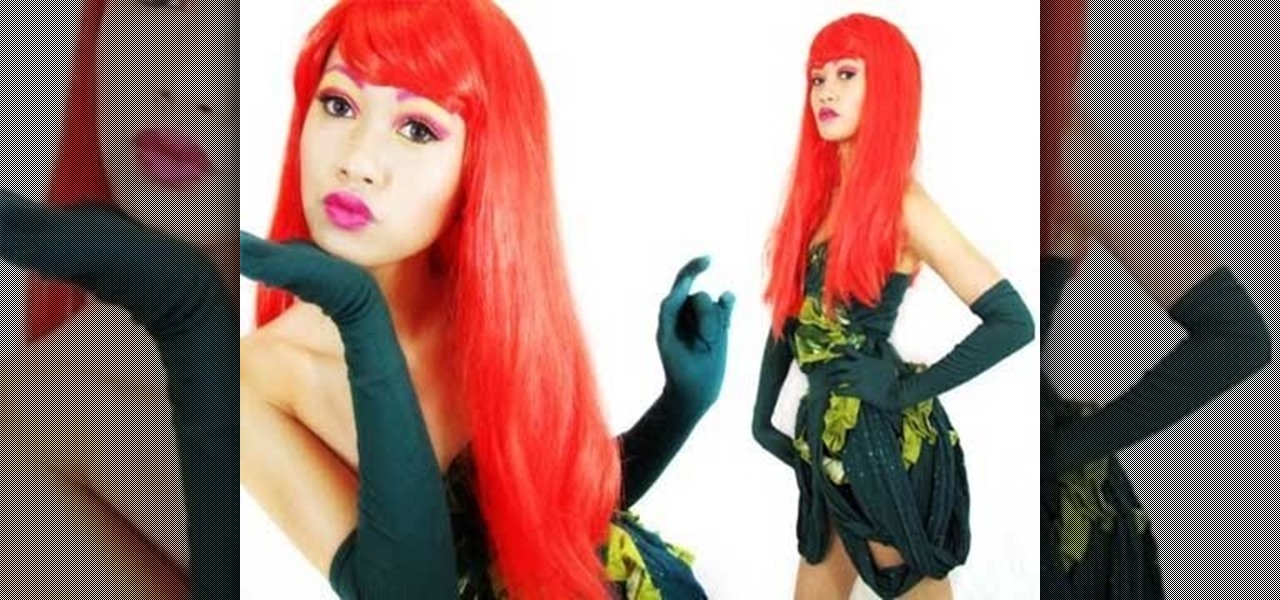
How To: Make your own Poison Ivy supervillain costume
Dress up like Uma Thurman for Halloween! This tutorial shows you how to make a Poison Ivy costume, starting completely from scratch. Make a tube top first, then add on the accessories and details as shown step by step in the video. Rawr!
How To: Add a coin holder to your duct tape wallet
Another mini tutorial on duct tape! If you're making a duct tape wallet, you're going to want to construct a pocket to keep your spare change. This tutorial shows you how to make an add on coin purse to add to any kind of wallet!
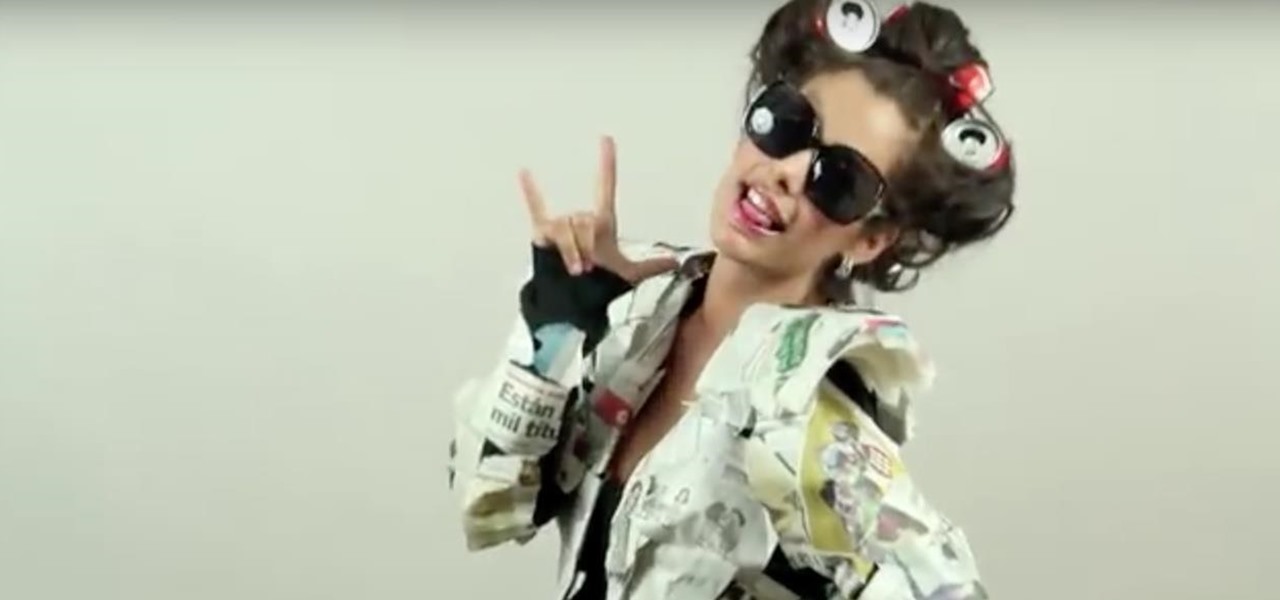
How To: Create a "Recycled" Lady Gaga Costume for Halloween with Gianny L
This Halloween, don't pass up the chance to dress up like the diva everyone is talking about— Lady Gaga. But you don't have to spend tons of money to get Lady Gaga's extravagant (in a weird context) look. You can recycle your way there with this recycled Lady Gaga Halloween outfit from GiannyL.

How To: Make a Long-Sleeved Draped Cardigan with Gianny L
A cardigan is greet for the winter months, but not very stylish, unless… you make one that's draped. Stay warm while looking trendy with this DIY draped cardigan idea from GiannyL.