

Hot Fashion Design How-Tos


How To: Make a fashionable lace cardigan
In this tutorial, we learn how to make a Lace Cardigan with the Sewing Studio. First, you will need to gather all of your tools and the material. Now, cut out a piece of fabric into a large rectangle. Now, draw and cut out the pattern from the diagram you see in the video. After this, finish up the raw edges with stitching, then line up the two lower edges and sew along the edges. This will be the seam on the center back of the cardigan. Next, attach the triangle to the top of the neckline an...
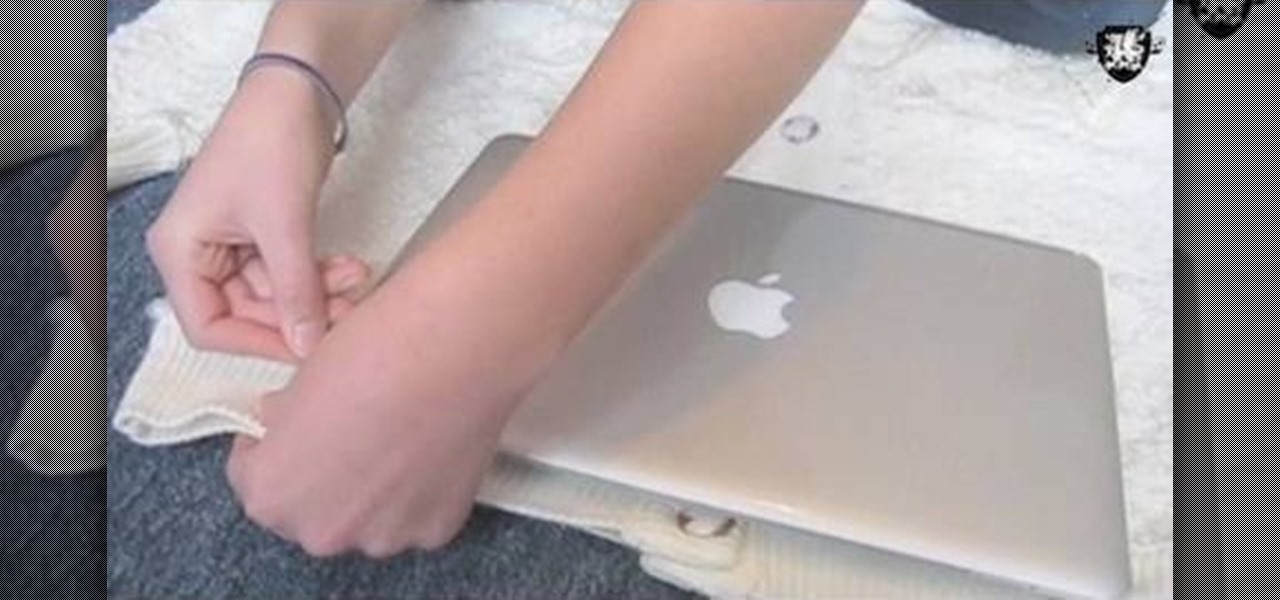
How To: Make a sweater for your laptop
In this tutorial, we learn how to make a sweater for your laptop. First, grab an old large sweater and cut it out to the same size as your laptop. After this, set the rest of our sweater to the side and put the right sides of the sweater together. Then, pin and sew the three cut edges, but do not sew them closed. Sew with a zigzag stitch on the edge of the fabric. After you're finished sewing, use this on your laptop and use the rest of the fabric you have left over to make additional sweater...
How To: Make a custom T-shirt, from designing patterns to sewing to wearing
Ever wondered how to make a tee shirt? With a little cloth, some thread, a sewing machine and some direction, it's as easy as baking a cake. If you want to start designing your own cool T-shirts with your favorite fabrics, watch and learn!

How To: Sew a Greek goddess costume for Halloween
Turn yourself into an Aphrodite or Artemis this Halloween! You don't even need a pattern to make yourself a sexy Greek goddess costume! All you need are a few yards of your favorite fabric, some chantilly lace for a wrap, and a laurel leaf crown to top it all off!
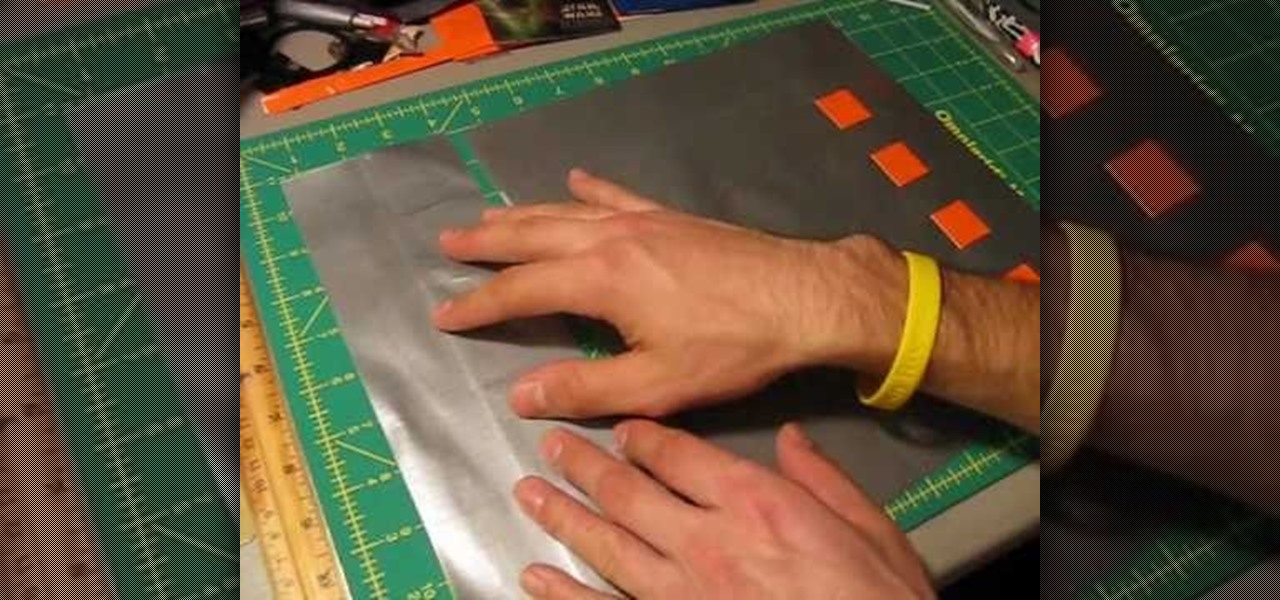
How To: Construct a tote bag or beach bag out of duct tape
More duct tape fashion accessories! This tutorial shows you how to make a tote bag or a beach bag out of silver duct tape. You don't need a pattern or base, just grab a roll of duct tape and follow along!
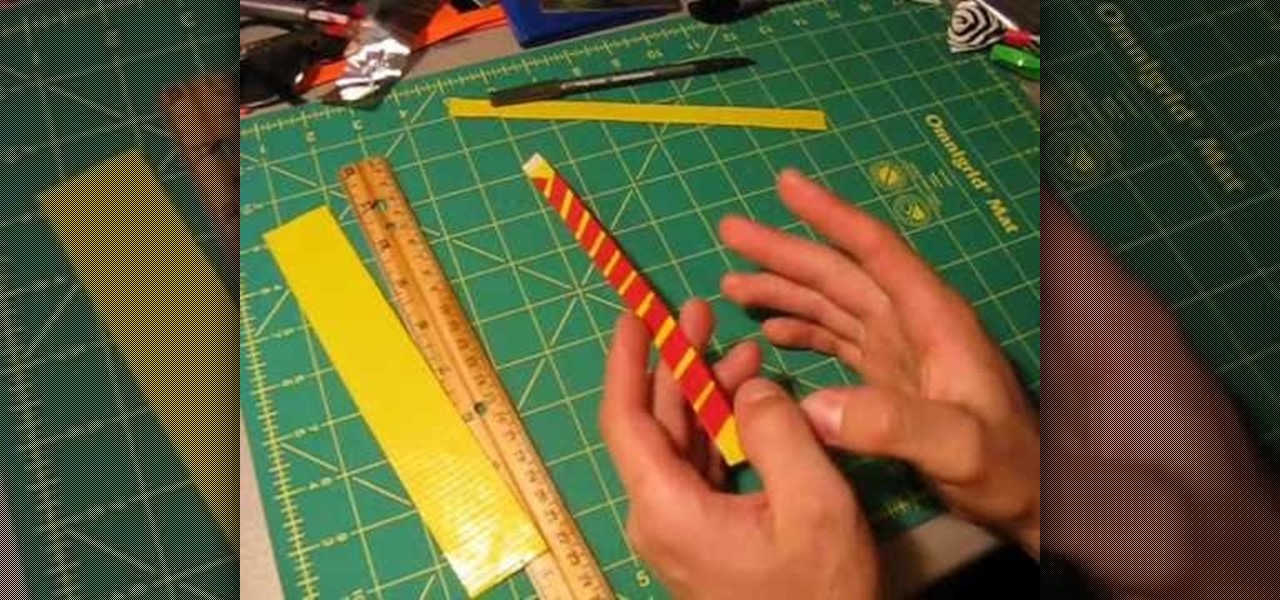
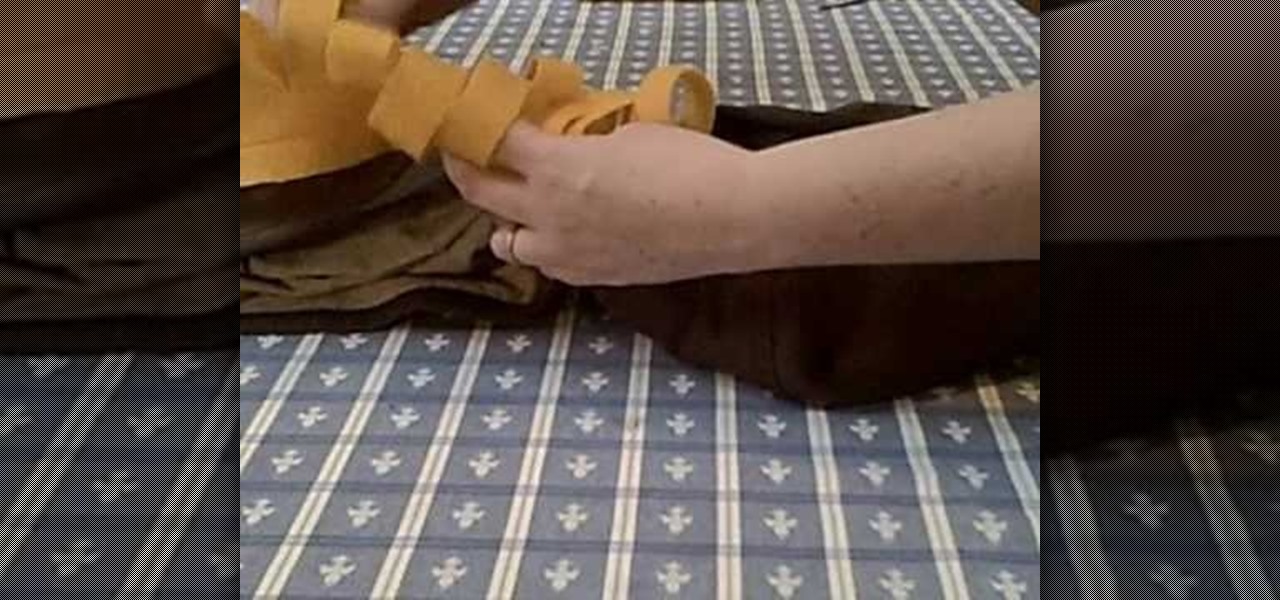
How To: Make a bracelet or wrist band out of duct tape
Accessorize with duct tape! This tutorial shows you how to make a bracelet or wristband out of two eight inch strips of yellow duct tape. They end up a little less than half an inch wide and look like charity silicone wristbands.

How To: Turn a tank top or tee into a better fitting, cute, unique shirt
Your tanks and your tees aren't fitting just right, don't throw them away or toss them in a storage box just yet. Grab some scissors and cut that sucker up, then mold it in a better fitting, unique and cute shirt. The easiest part is simply slicing up the back up the shirt, but then comes the strings. Watch and see for yourself. This is a great way to transform a normal T-shirt or tank top into something more creative.

How To: Decorate with duct tape Kanji characters
This video will show how to decorate duct tape creations with Japanese Kanji characters, which are Chinese-based characters. After creating your duct tape stencil which will serve as a backing, you should go online and find a Kanji character which you would like to copy, print it out on paper, and cut it out with scissors. Place the characters on your duct tape and trace around the character, making a stencil of the character you would like. Finally, you need an X-acto knife, which you will u...
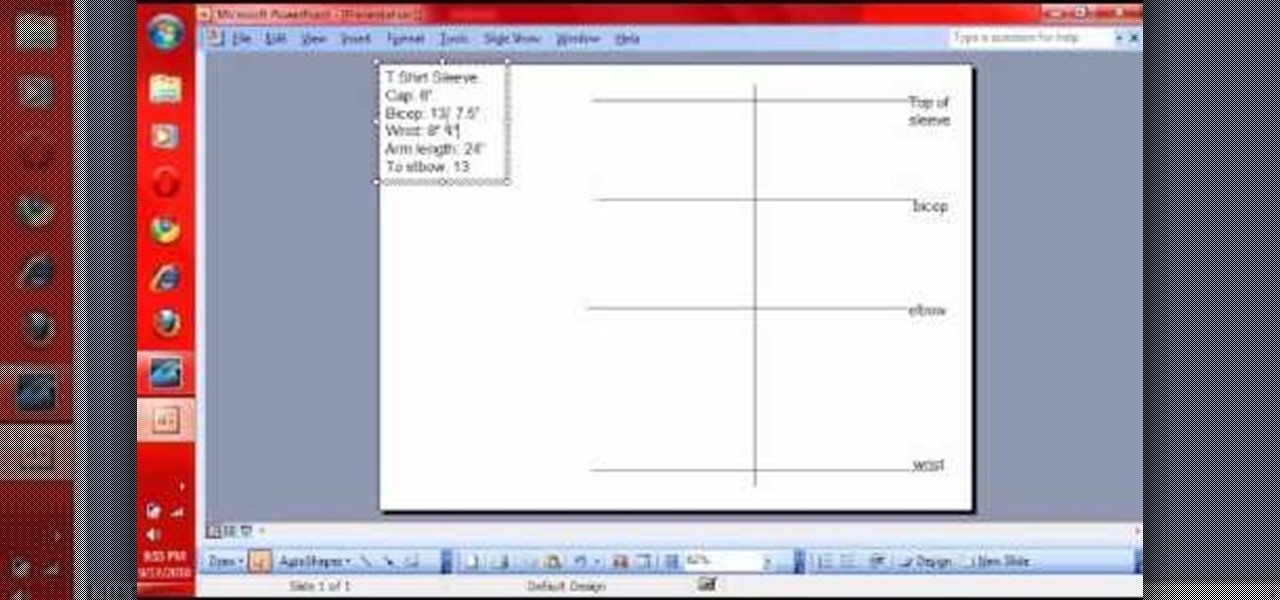
How To: Take self-measurements and make a custom tank top pattern
In this Threadbanger video, Secret Life of a Bionerd gives you tips on making a custom tank top pattern. She'll teach you how to measure yourself, along with making a simple pattern from those measurements. Making this tank pattern sure makes life easier when sewing. This is the basics to starting your own tank top designs, and opens the door to create many other pieces as well. Once you get this method down, you will love collecting homemade patterns.
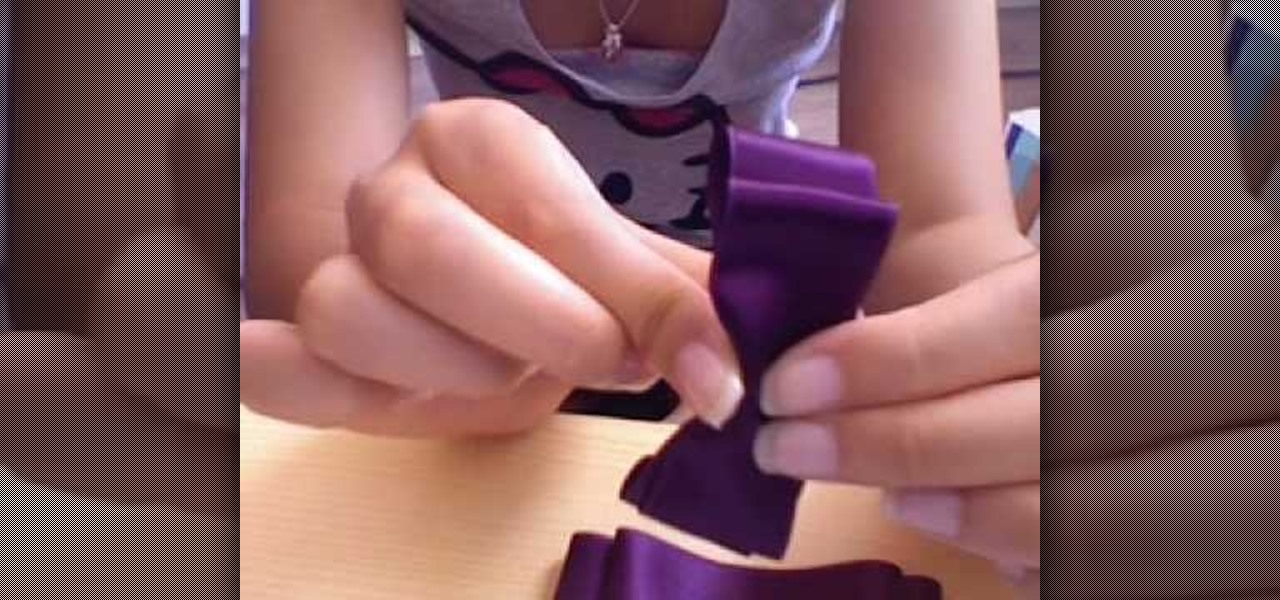
How To: Dress up a boring pair of shoes with cute bows
You can use this tutorial to decorate any plain or boring pair of shoes in your closet. The easiest way is to make a pair of cute bows from ribbon matching the color of your shoes, and attach them to the toes.

How To: Make a statement piece necklace from old zippers
Back to school is the best time of the year to flaunt new clothing and accessories you scored during the summer. But since so many of us shop at the same places these days (come on, when was the last time you visited Target?), it's very likely you'll end up with a dress or necklace that someone else already has.
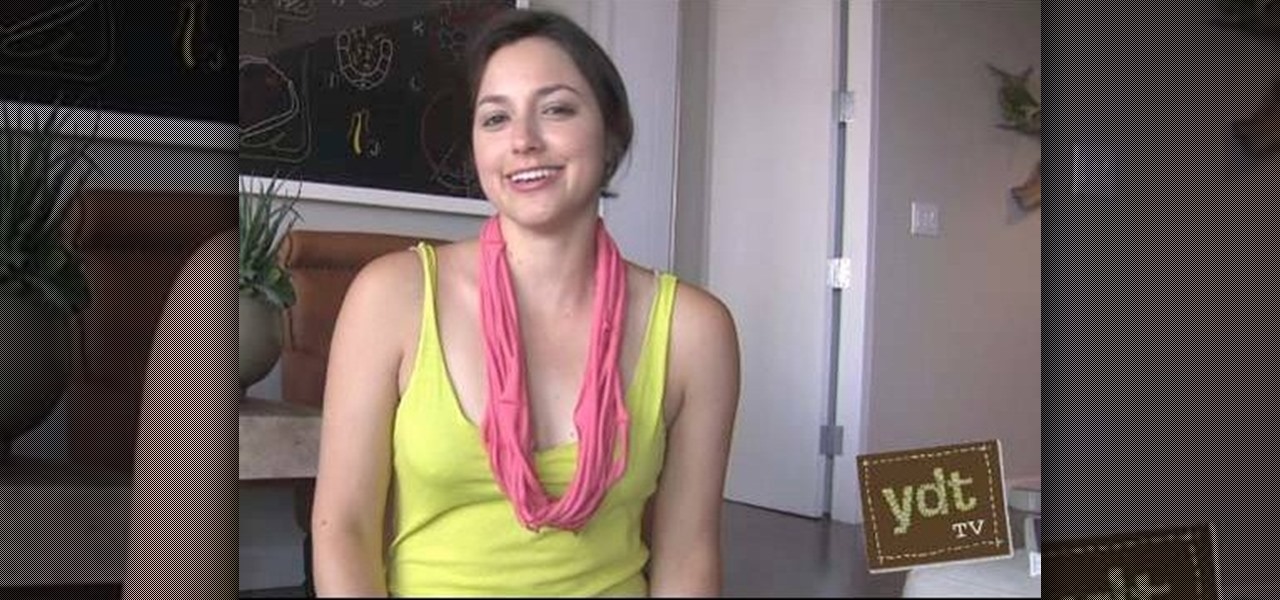
How To: Make a pretty layered necklace using an old, unwanted t-shirt
Statement pieces are all the rage this fall, with big, chunky necklaces and vibrant floral neck wraps taking center stage as clothes take a backseat. If you want to get in on this trend without looking a bit too haute couture (AKA too like a clown) for school or work, check out this DIY tutorial for making a pretty layered necklace using an old t-shirt.

How To: Apply special iron-on vinyl stickers onto tee shirts and other cotton fabric
If you're stumped about ironing on those iron-on vinyl stickers, this video should clear a few things up. It specifically covers Kitcsh-Nitsch IronOn vinyl stickers, but the principles are the same for all vinyl iron-on stickers. Make sure you don't use your padded ironing board when doing this! All you'll need is your iron and some scissors, and of course, your vinyl stickers!
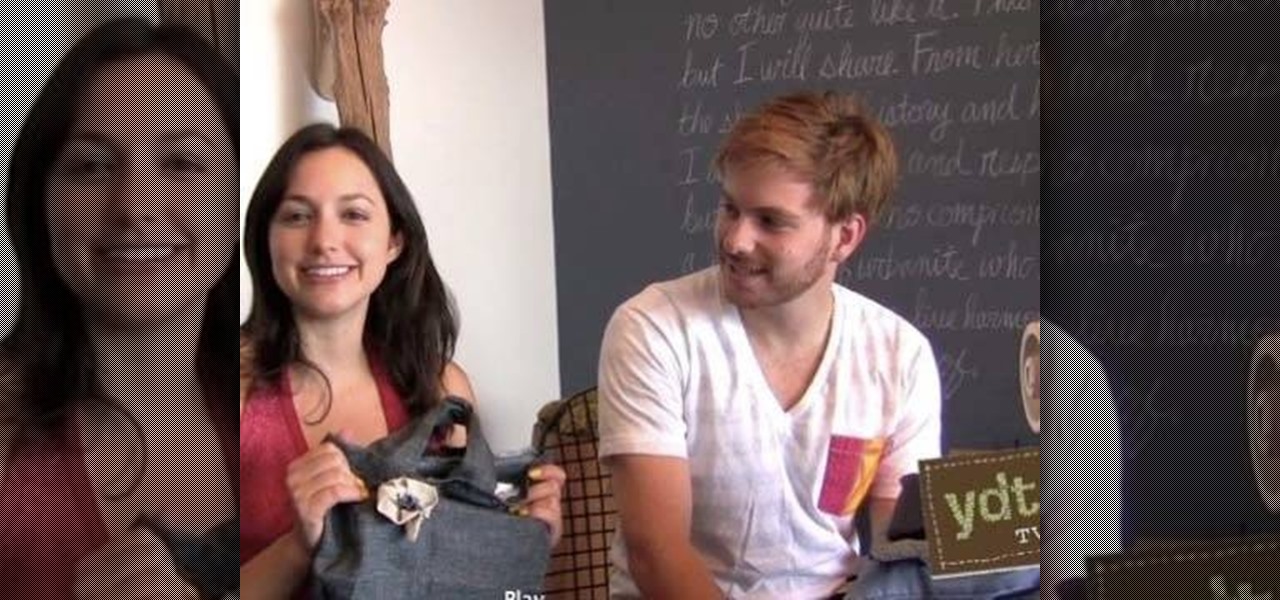
How To: Craft an urban chic tote from waste fabric scraps
Chances are you have a pile of old, unused clothing lying somewhere in your house. You're sure as hell never going to wear any of it, but you also don't want to throw anything away just yet. So how do you eliminate the unsightly pile without completely tossing it into a trash can?

HowTo: Make the Laziest Dress Ever
There are lots of simple "hack-like" fashion projects on the web, but kudos to the Glamourai for bringing Style into the equation. Her "Scarf-tan-ette" is surprisingly chic considering it's simplicity. Relatively uncomplicated to make, all you need is a couple vintage scarves, some chain, pins and a sewing machine. (The YSL sunglasses help the look as well.)

How To: Revamp a junk shop dress
In this tutorial, we learn how to revamp a junk shop dress. First, you will need to measure out how short you want the dress to be while still wearing it. After this, take the dress off and pin it where you want to sew it. Cut off excess fabric, then sew the hem of the dress where you want it to be. Next, place the dress back on and pair it with some cute leggings. You can buy a cheap dress and make it look nice without having to pay a lot. Pair this will some cute accessories and you will ha...
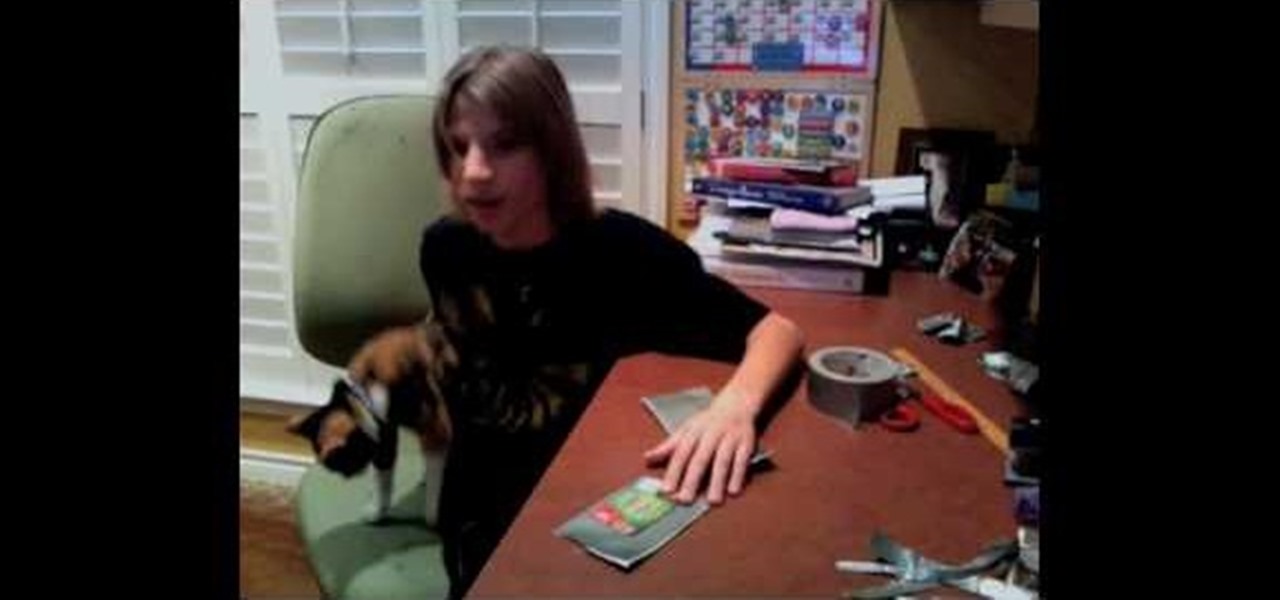
How To: Make a wallet with card holders from duct tape
In this tutorial, we learn how to make a wallet with card holders from duct tape. First, you will need to cut out duct tape in several strips to the size you want. You can use any color of duct tape you want. Next, you will start to overlap the duct tape on top of each other so there are no stick sides, then finish it by overlapping the last piece. Continue to do this, then fold it in half to make a wallet shape. Next, you will make card holders. Measure out how large the holders should be by...

How To: Make a vintage inspired vest with Threadbanger
In this tutorial, we learn how to make a vintage inspired vest. First, measure yourself around the bust waist and hips. After this, write down what your measurements are, then mark them on a piece of fabric you want to use as your vest. Cut out the shape and then fold in the edges and sew the sides to hem them and reduce and frays. After this, add in any scrap pieces of fabric you have laying around and sew them to the vest to make your desired look. After this, sew on buttons to the front of...

How To: Make your own maternity jeans
In this tutorial, we learn how to make your own maternity jeans. First, you will take you favorite jeans, then cut the panel all around, including where the button goes. After this, use any type of shirt and sew it onto the jeans. This will go onto your stomach and under your breasts while you are pregnant. You won't be able to tell that you made these, and they will look great. Remember you can use any type of shirt you want to make the panel, just make sure you don't want to wear it again. ...
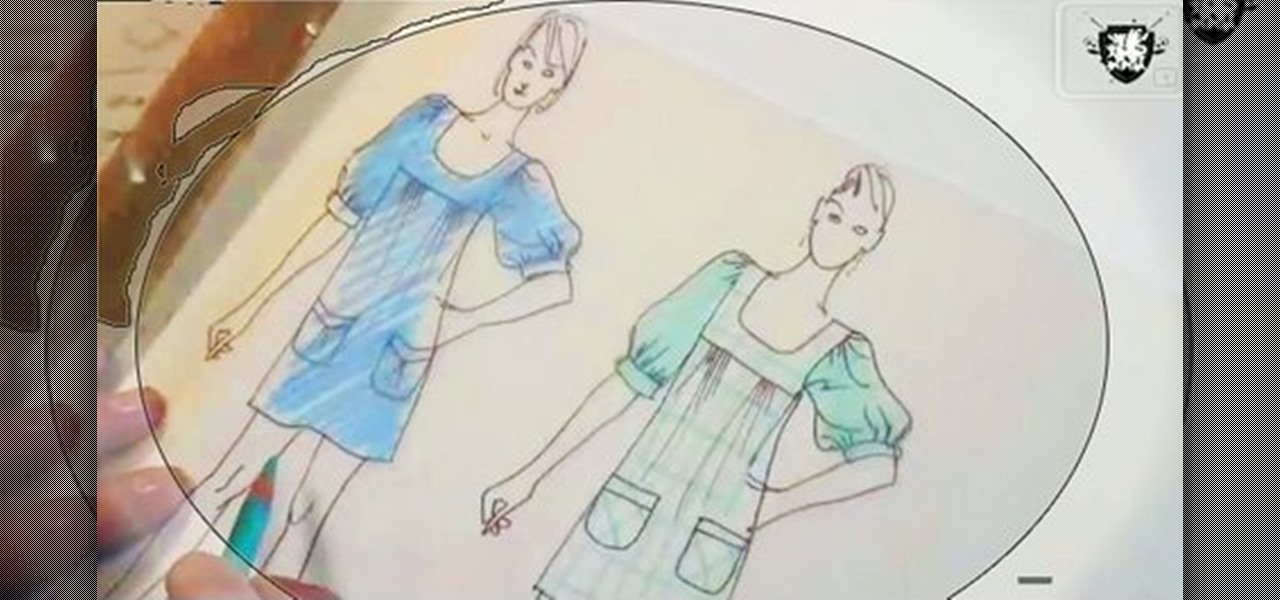
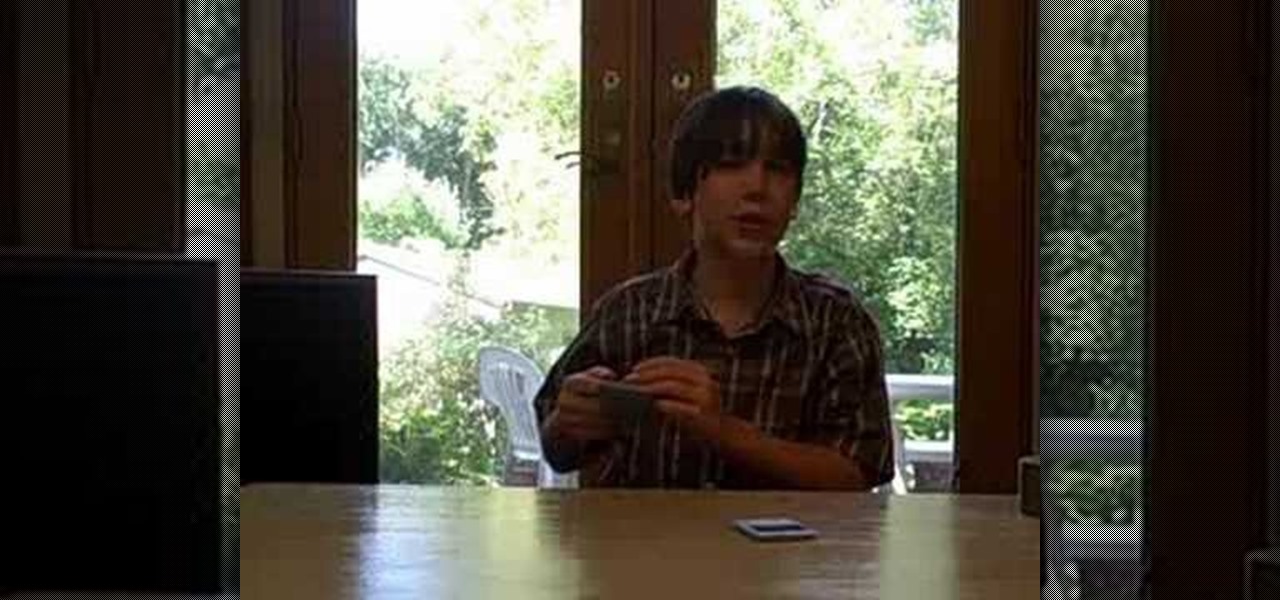
How To: Draw a fashion sketch with Threadbanger & Simplicity
In this video, we learn how to draw a fashion sketch. Start off by using a fine pen and drawing the silhouette of a woman. Draw on the outfit to the woman, adding in all the fine details. Draw in ruffles of the clothing as well as the prints of clothing you are going to use. Use a colored pencil to color in the picture so you know what colors you want the clothes to come out like. Shadow the model slightly to make it look more realistic, then finish up the details of the image. When finished,...
How To: Make a homemade tie dye shirt
In order to make a homemade tie dyed T-shirt, you will need the following: a 100% cotton T-shirt, large freezer bags, trash bags, and Tulip fashion dye.
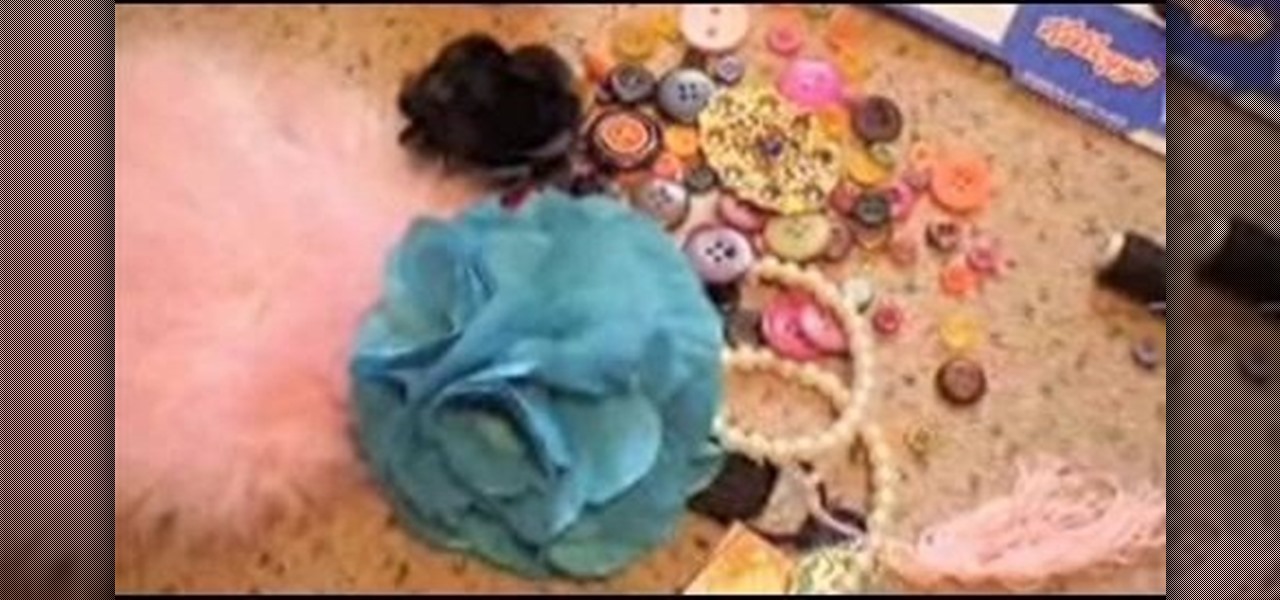
How To: Make a pillar box hat with Threadbanger
Materials: Scrap fabric, elastic thread, cardboard, scissors, cellophane tape, and other bits and bobs ie feathers, buttons

How To: Make a dainty victorian hat from a lampshade
In this tutorial, we learn how to make a Victorian hat from a lampshade with Gwen. You will need: a lampshade, scissors, acrylic paint, paint brushes, glue, a compass, and cardboard. First, take the compass and make the circle as wide as you want your hat to be, then trace your lampshade on the cardboard. Now place the small end of the lampshade around the large circle that you drew. Next, cut these circles out of the cardboard. Leave extra room, don't cut it out exactly on the line. When fin...
How To: Craft a duct tape wallet
In this tutorial, we learn how to craft a duct tape wallet. First, tear out a 7 inch piece of duct tape and fold it so there is a sticky side just overlapping it. Next, tear out another piece of tape and fold it just over the sticky side of the other piece of tape. Continue to do this for around 10 pieces of tape, or until you have enough to make a decent sized wallet. When you reach the end, fold the bottom over itself, then cut off the sides and seal with another piece of tape. Then, measur...
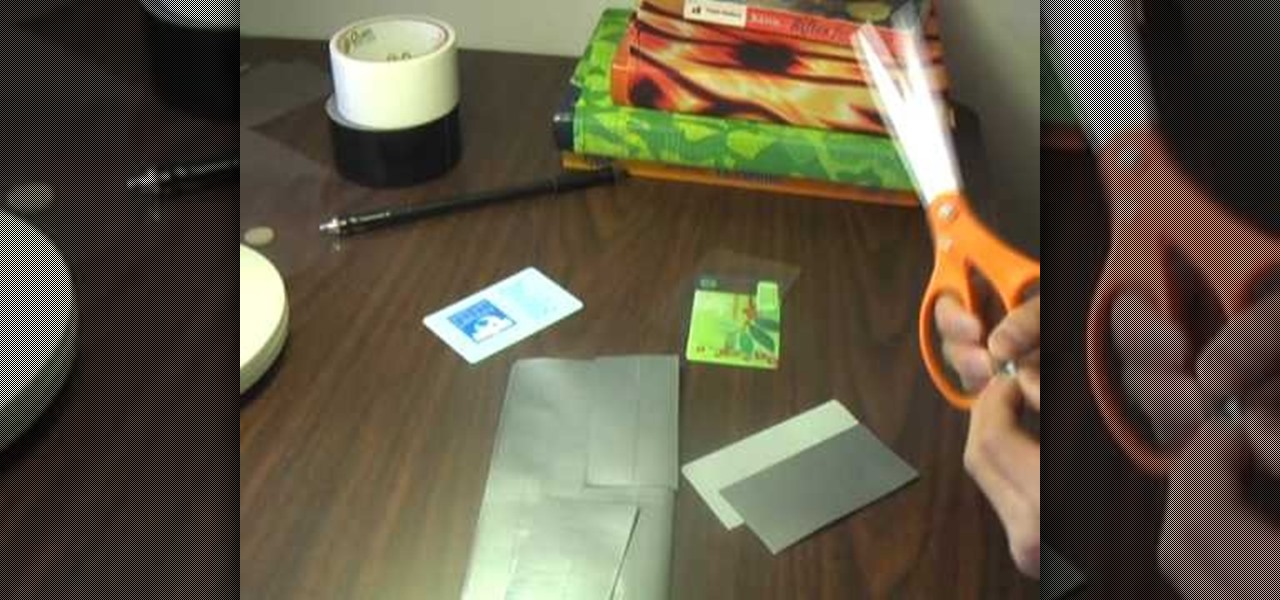
How To: Create a custom duct tape wallet
In order to make a wallet with duct tape, you will need the following: duct tape, scissors, a ruler, a pen, plastic, credit card, and a smooth surface. Cut a strip or duct tape 8" long. Place it on a flat surface, with the silver side facing up. Cut another piece. Attach it to the first piece, laying it down at half the width of the first piece. Fold it over. Try to avoid making bubbles. Now, make a sheet by cutting 8 strips and attaching them together in the same manner. With a ruler, measur...
How To: Make a duct tape iPod holder
Alex shows us how to make a duct tape iPod holder in this tutorial. This will prevent damage and is also waterproof! You will first wrap four piece of duct tape around your iPod with the non-sticky side first. Stick one piece on top of each other so it covers the iPod completely. Don't make it to tight. Next, use the sticky side to tape the last two pieces onto the other pieces of tape. When finished, you will have a unique iPod holder that protects your iPod and is a cheap alternative to cos...
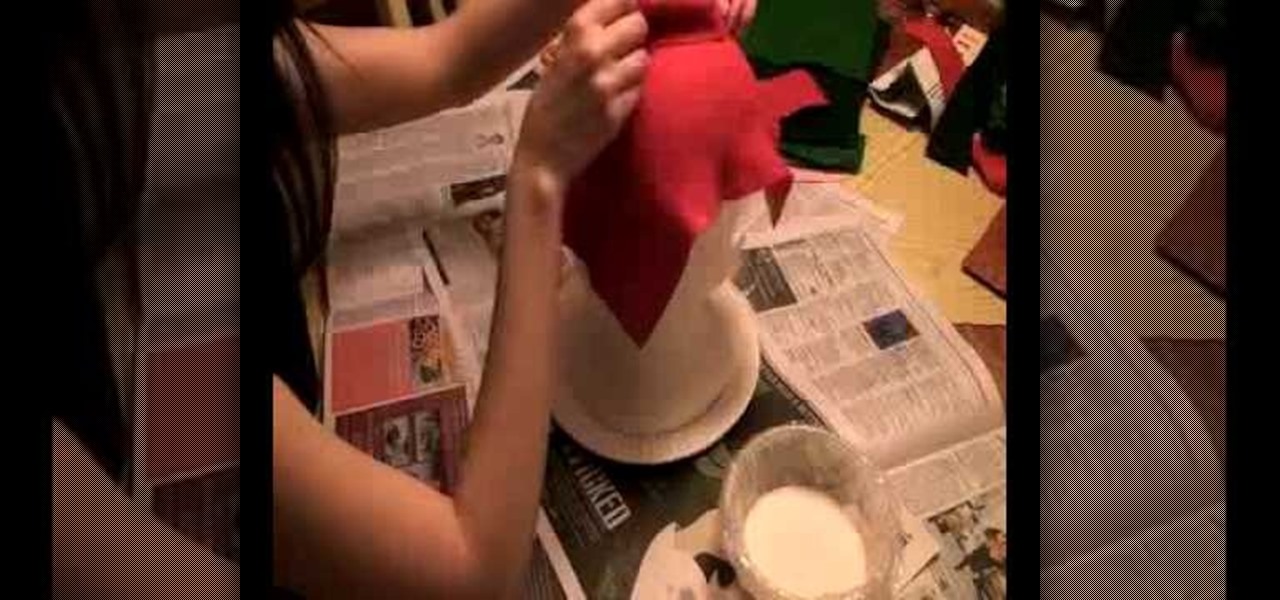
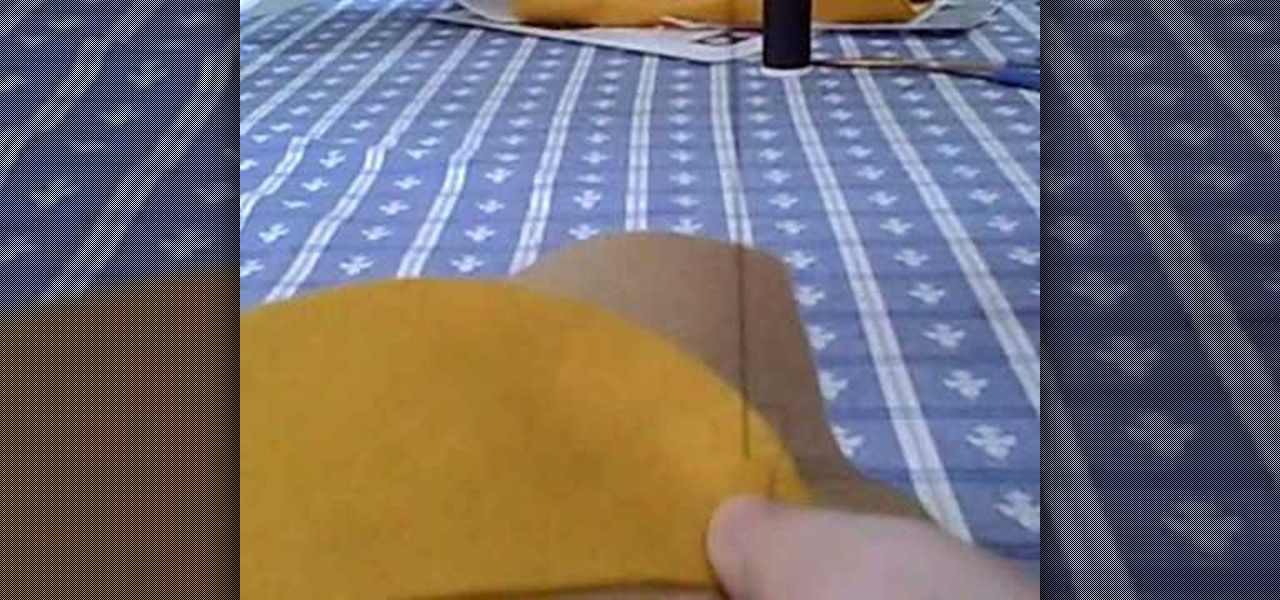
How To: Make a hat out of felt
This video tutorial is in the Fine Art category where you will learn how to make a hat out of felt. You will need glue, silver wrap, a plastic bowl, pins, felt and a mold of the head. Take a red felt and cut out a big square piece, a small triangular piece and four curved shapes as shown in the video. Now cut four curved strips from each of pink, light green and dark green felt. Pour glue in the plastic bowl, add equal quantity of water and mix well. Take the square piece of felt and dip it i...

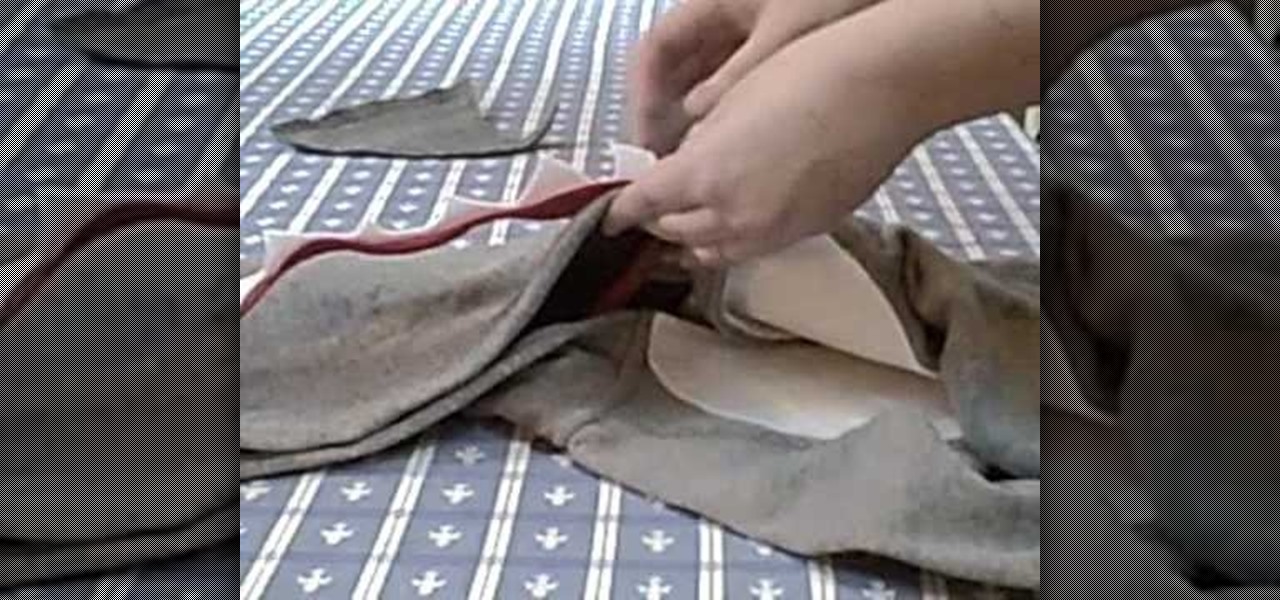
How To: Make a cat-ear fleece hat
In this tutorial, we learn how to make a cat-ear fleece hat. First, take fleece and combine two edges together to make two cat ears. Sew these together and then turn them inside out so you have the ears you like. Next, take a piece of fleece and sew it together so it becomes a hat. Turn it inside out so you can't see the marks on it. When you are finished, you will have a cute fleece hate perfect for anyone in the winter! You can jazz this up by using any type of material you would like and p...
How To: Sew fins and teeth onto a shark costume
In this tutorial, learn how to add felt fins and teeth onto your child's shark costume. These easy to add embellishments will really make your little guy or girl feel like they are a part of the costume. This costume is super cheap to make and only requires some extra fabric and a sweatshirt to get started. Have fun!
How To: Sew a whip stitch into clothing by hand
In this clip, learn how to sew a whip stitch into clothing to make cute, easy Halloween costumes. This video will show you how to whip stitch your way to a new warddrobe in no time - no sewing machine required!
How To: Sew an easy mane onto a lion costume
In this clip, learn how to make a warm and cheap costume that is still adorable. This video will show you how to take a piece of fabric and sew it to a sweatshirt to make a lion mane for your little girl or boy. This is a super cute way to make an inexpensive costume that your kids can wear for years.

How To: Sew spikes to the back of a dinosaur costume
Is your little guy or girl going as a big green dino for Halloween this year? Make your kids a warm and adorable costume by using an old sweatshirt and some fabric. This video will show you how to stitch on easy spikes so that your costume will look nice and ferocious. The process is super easy, so have fun!

How To: Sew ears on animal costumes
In this quick tutorial, learn how to install ears to the top of your animal inspired costume. This can be used for anything with ears on top of your head such as cows, pigs, cats, etc. Have a look at this clip and complete your costume.
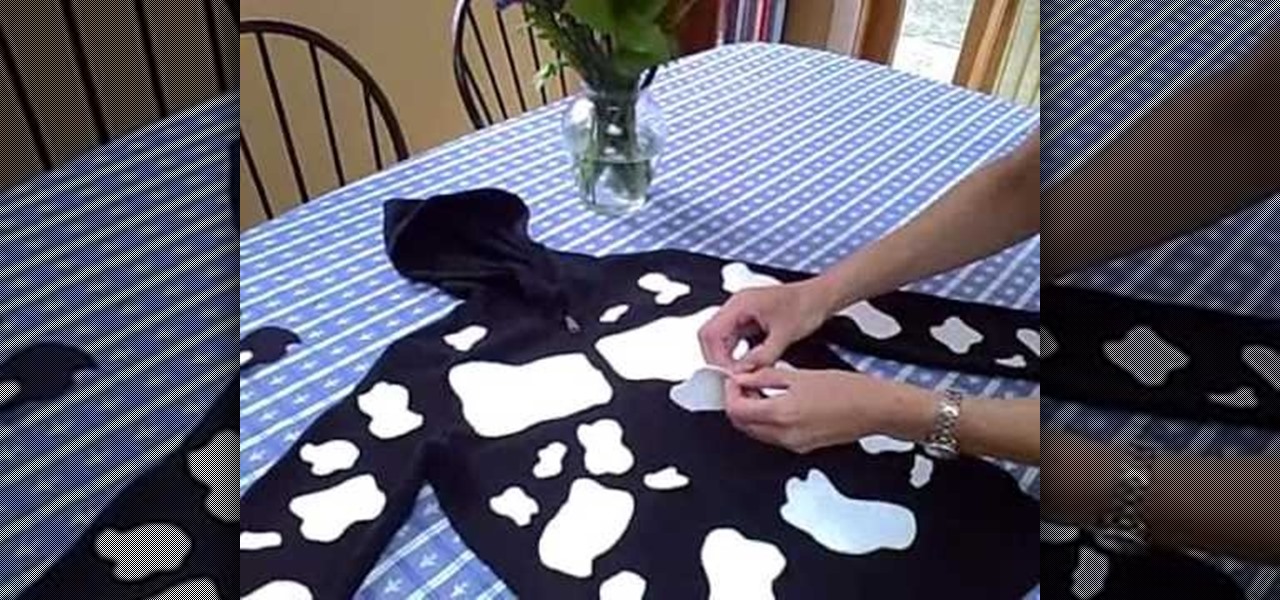
How To: DIY a cow costume for Chick-fil-A Cow Appreciation Day
This summer, come into Chick-Fil-A dressed as a cow and get your entire meal for free! The Southern chicken chain is celebrating poultry and steering clear of red meat for a national campaign.
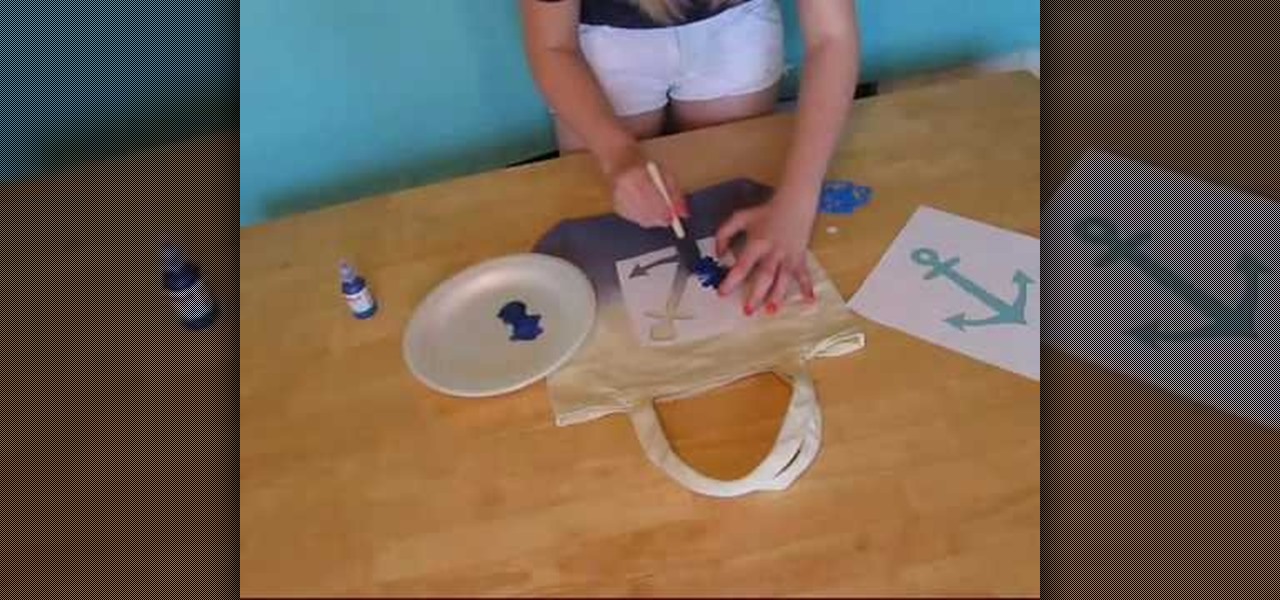
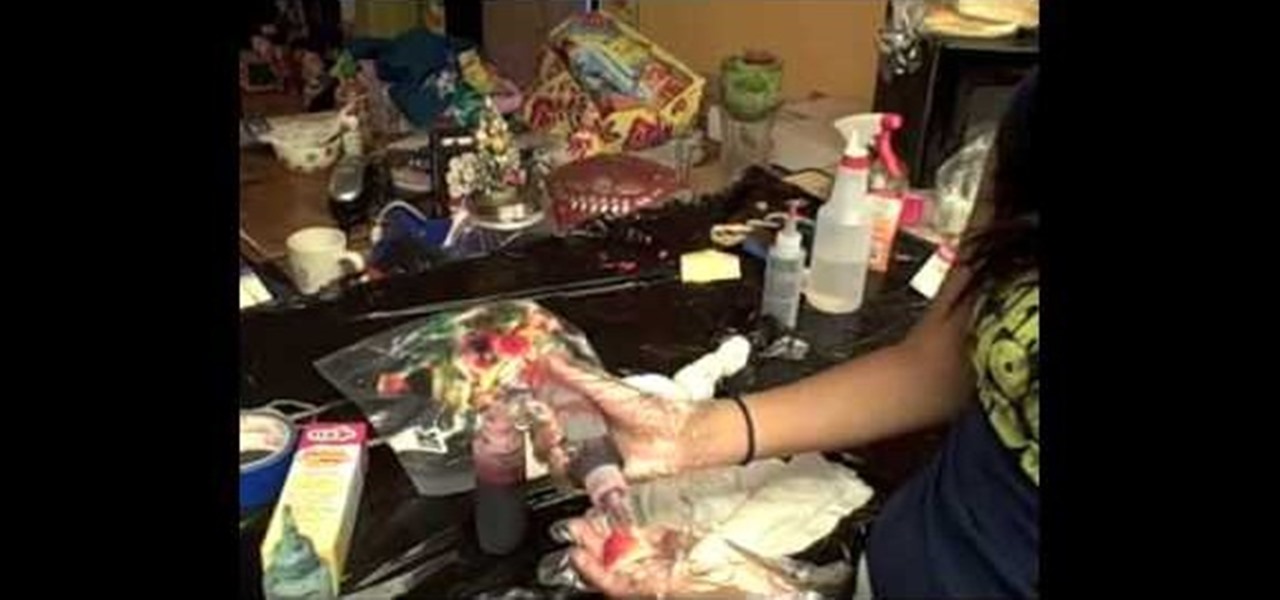
How To: Make an ombre style custom beach bag
In order to make an ombre style custom beach bag, you will need the following: a canvas tote bag, dye, gloves, a paper place, sponge brush, stencils, fabric paint, containers, white vinegar, and water.

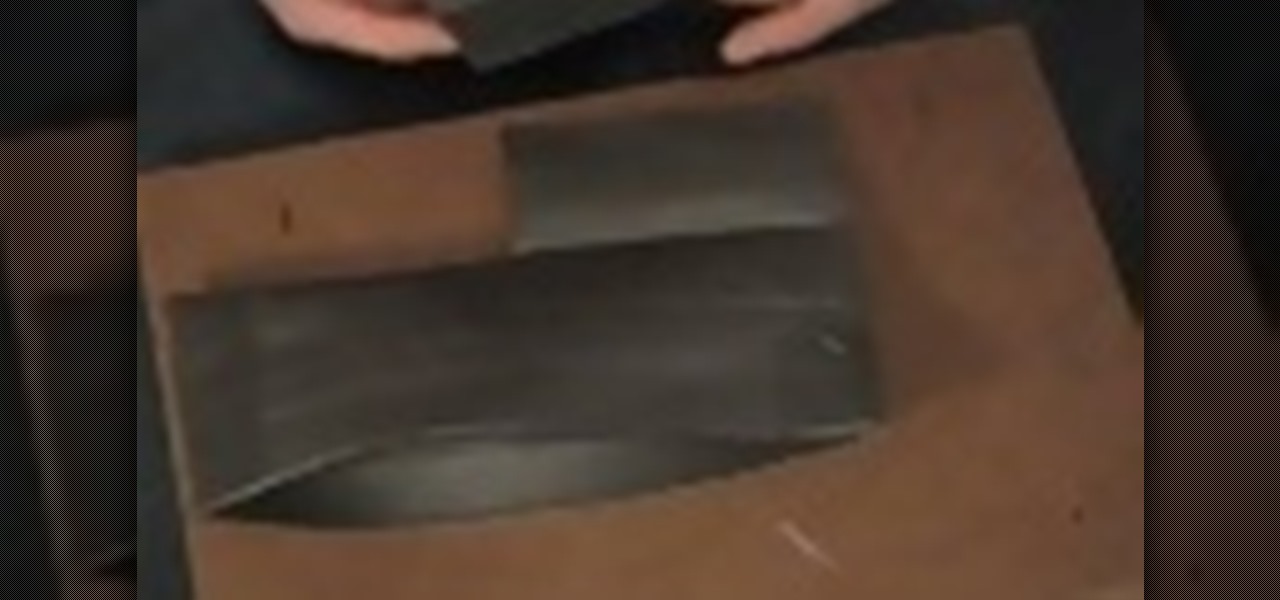
How To: Make a Buster Keaton style hat
In order to make a Pork Pie/Buster Keaton Hat, you will need the following: a felt hat, water, scissors, and a ribbon.
How To: Make a DIY long vest out of a scarf
This video shows us how to make a DIY long vest out of a scarf in no time! You will need: a wide scarf, matching thread, other colored thread, safety pins, needles, and scissors. First, measure yourself shoulder to shoulder and add 15cm to that number. Next, measure 30cm on each side from the very middle of the scarf. Now, mark that spot with a safety pin and measure out another 30 cm on both sides, marking those spots as well. Now, bind the last two safety pins and sew from the bottom up to ...

How To: Make a bow headband with no glue or sewing
In order to make a bow headband without doing any glue or sewing, you will need the following: a headband, a hair tie or rubber band, and a piece of ribbon or a belt.
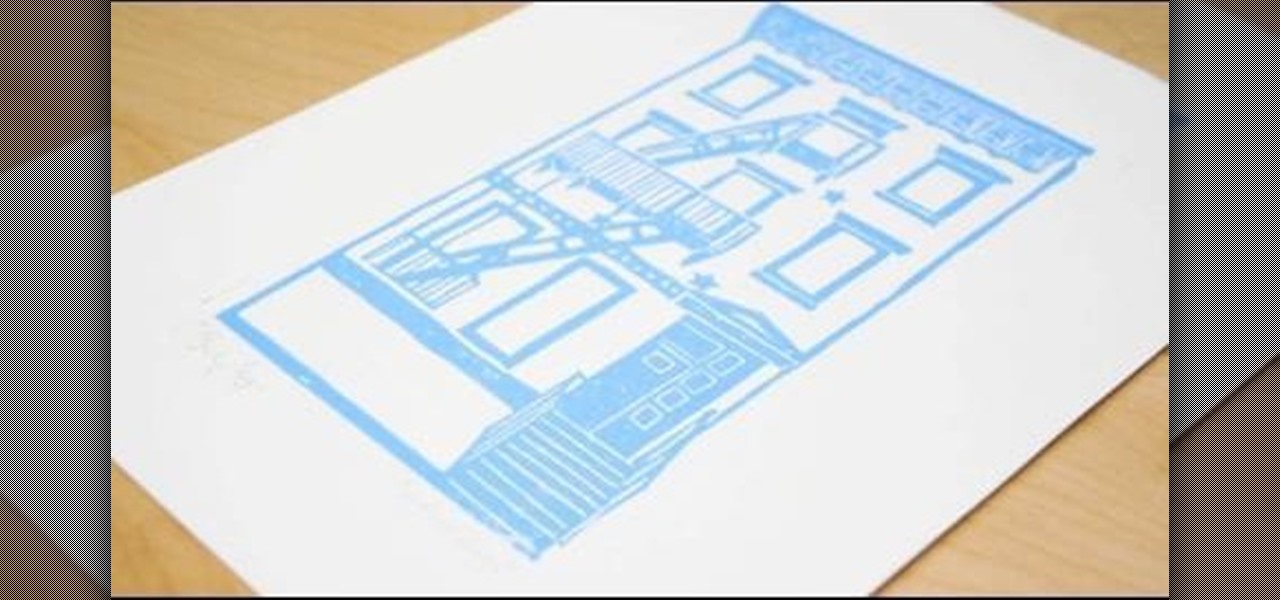
How To: Make linocut and rubbercut block prints
In this episode of Threadbanger, we learn from Dailey Crafton how to make linocut and rubbercut block prints. They're pretty easy to make, and you can create some pretty outstanding pieces of artwork with just a few simple steps. Just follow along in this video, and you'll be carving out linocut and rubbercut block prints in no time at all!
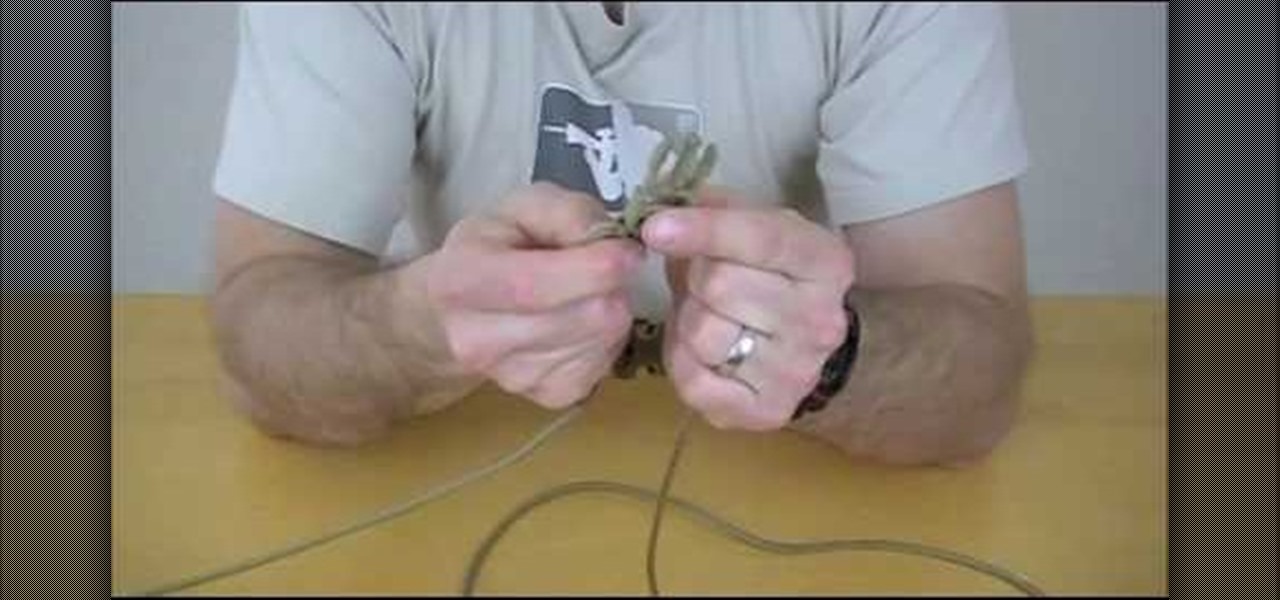
How To: Make a bracelet with 550 paracord
This video will show you how to make a very useful bracelet with 550 paracord. Once you watch this video, you'll have no excuse not to have any paracord on you. You'll always be prepared; after all, you never know what you could use this for! Just follow these steps: