

Everything Else


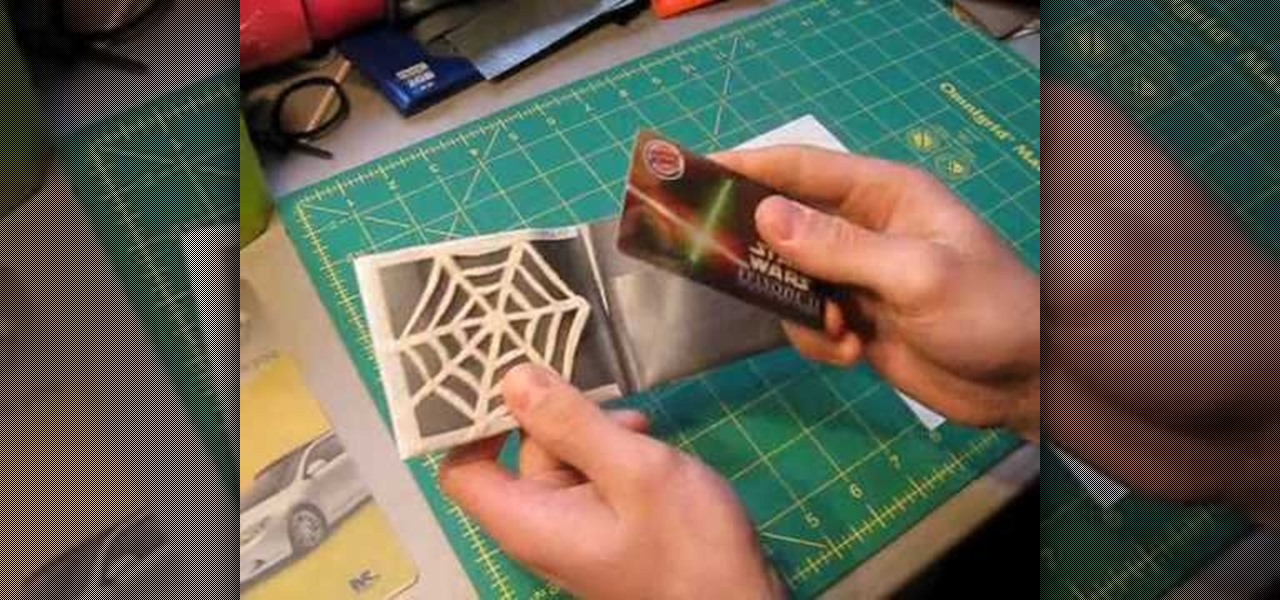
How To: Make a web credit card holder with duct tape
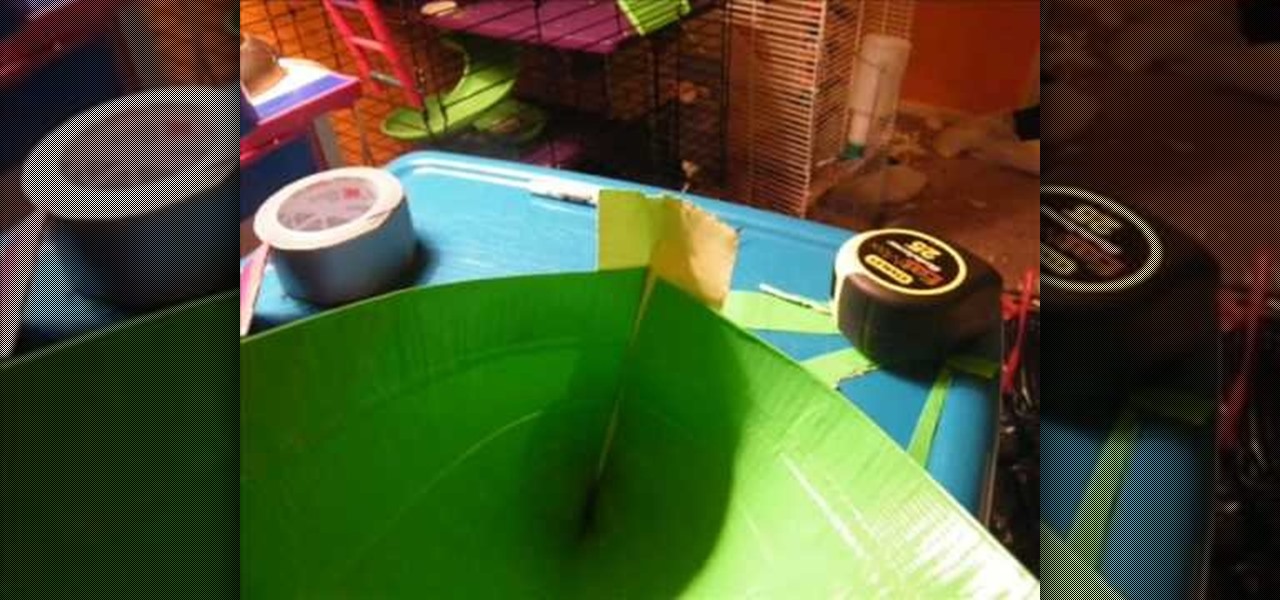
Duct tape artists are known for their adherence to straight lines due to the difficulty of making more elaborate shapes in the medium. For advanced duct tape artists looking for a challenge, this video will teach you how to create a spider-web-like design as part of a credit card holder into which the cards will go. If you have the chops, this is a very cool effect sure to impress all of your fellow DIY duct tape aficionados.
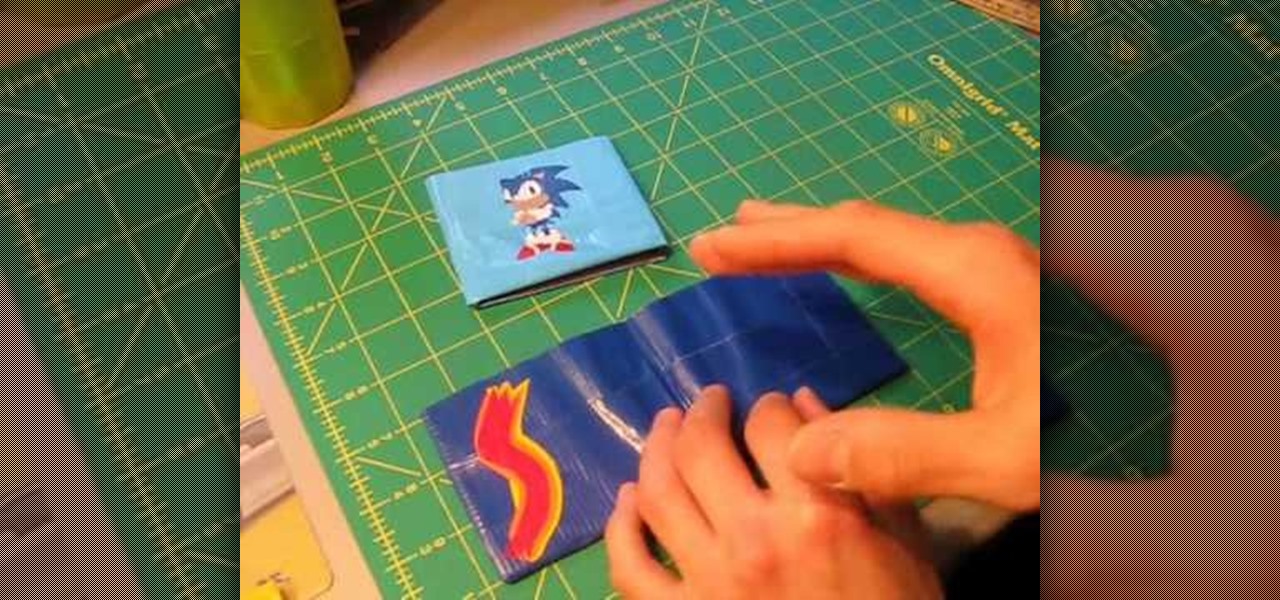
How To: Decorate a credit card holder with duct tape
Most of the duct-tape aficionados out there who are watching this video are probably familiar with duct tapes incredible versatility as a material for making backpacks, tuxedos, and other accessories and clothing items. What many don't realize, however, is the extent of the decorative options made possible by the wide range of colors that duct tape is available in. This video teaches you how to make very cool designs out of colored duct tape and use them to decorate a credit card holder. This...
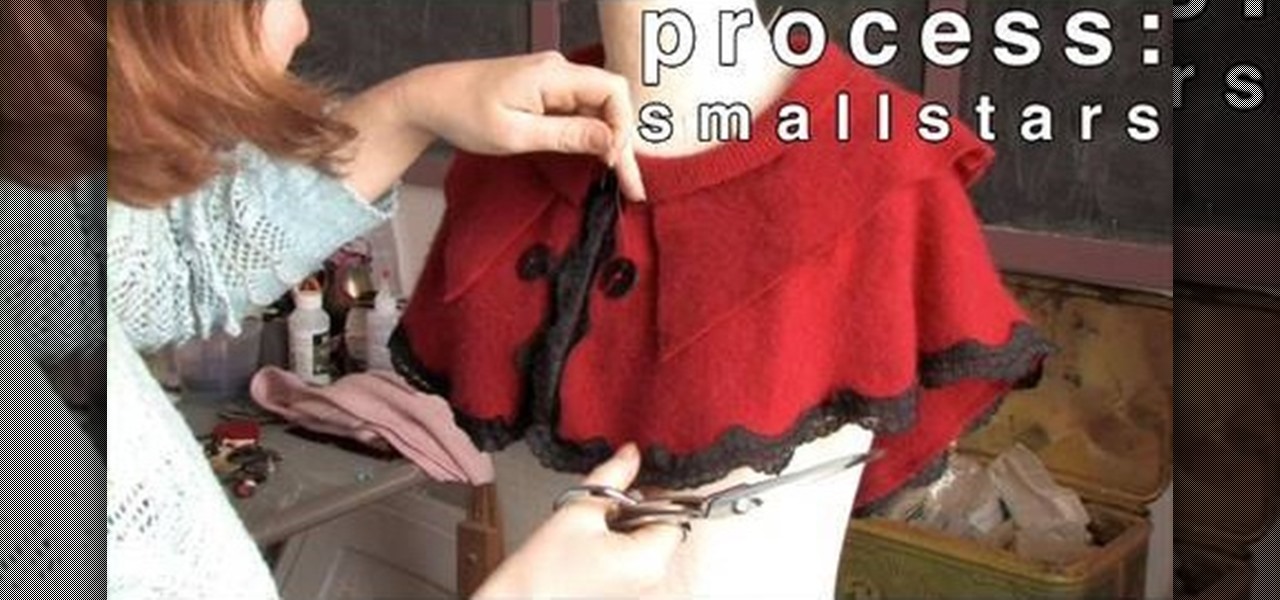
How To: Make felted capelets from sweaters
Though this isn't quite fit for winter wear, you can surely wear this in the spring, summer, and fall, during those times when it's warm with a brisk breeze that might send small shivers down your spine (perhaps a few goosebumps).
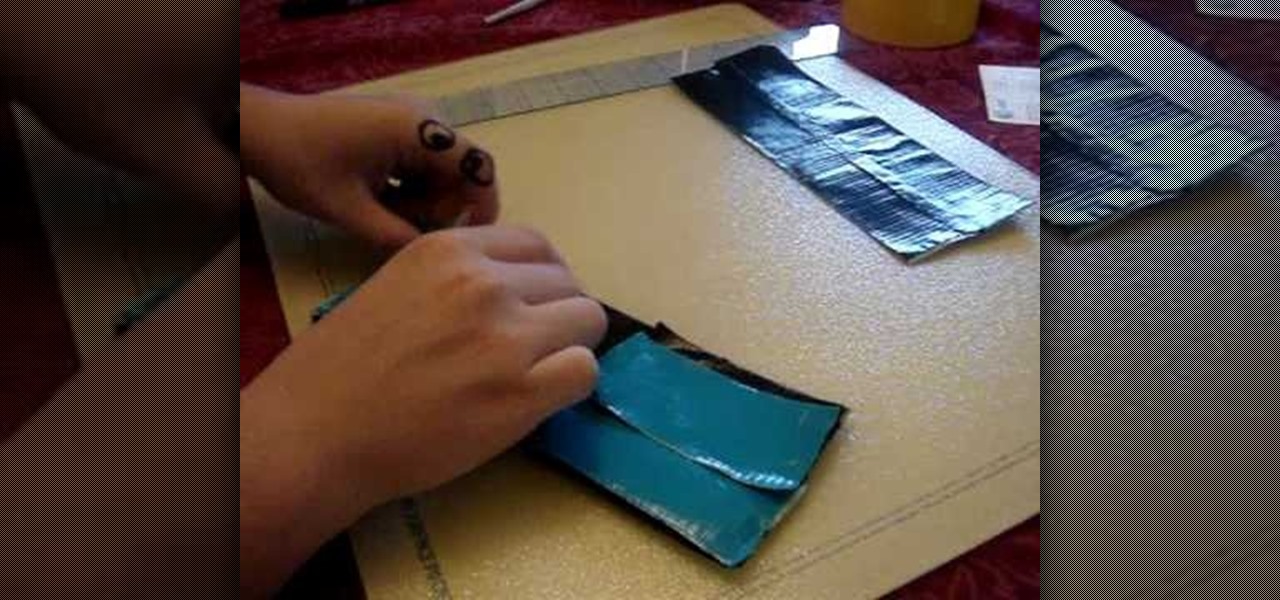
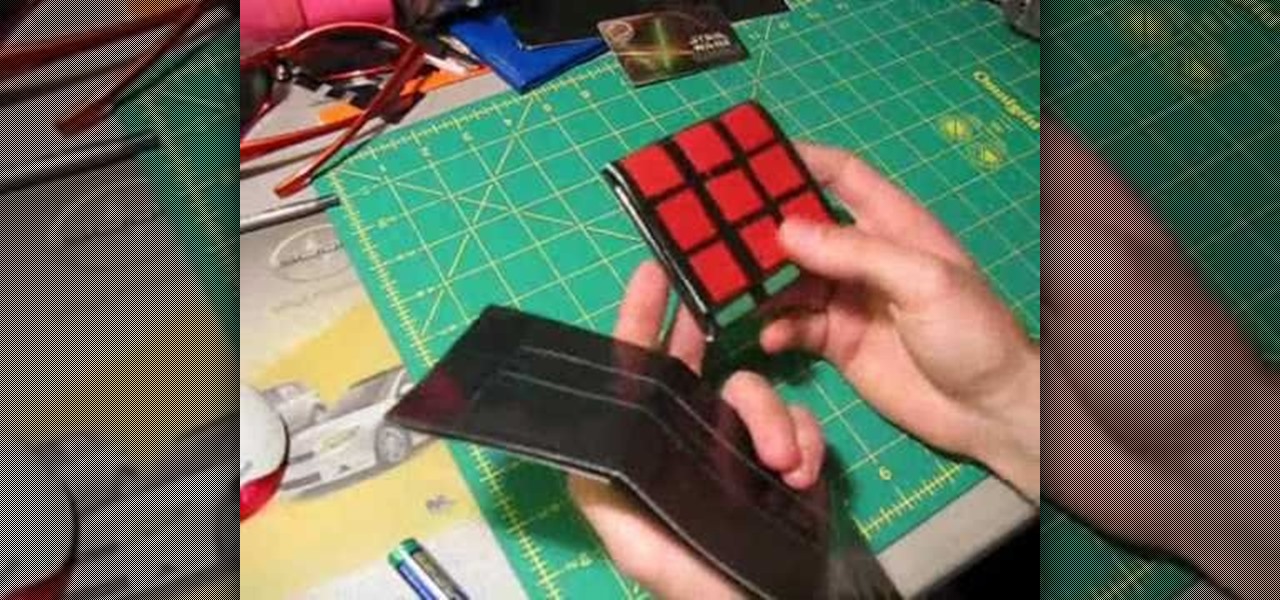
How To: Make a duct tape wallet
During this time of economic burden, people are being more frugal than ever. People are now more careful about how they take care of certain items and how often they purchase them. In this tutorial, if you are looking for a way to save some cash as well as store some, this video tutorial is right up your alley! Find out how to use duct tape in order to make a cool looking wallet. It's easy and can be a fun activity for you to perform. Enjoy!

How To: Tie a toga for men
Toga parties are an essential part of the college experience! Don't get stuck at your next toga party with a sheet that keeps falling off, check out this video and learn how to tie your outfit properly.
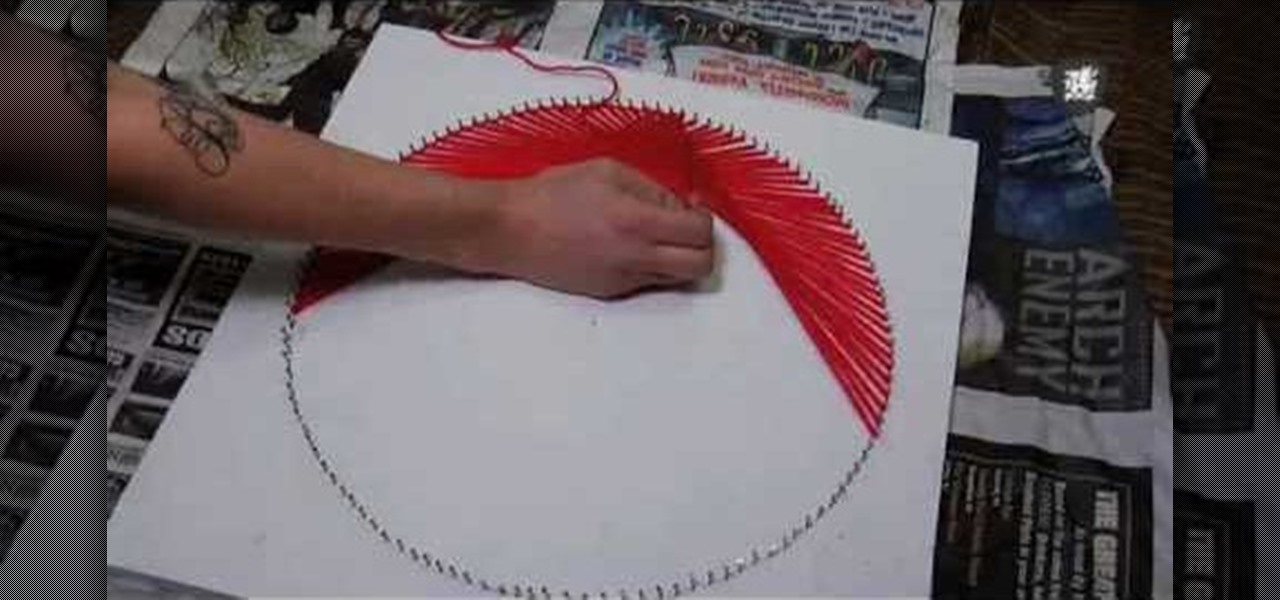
How To: Make retro 70's string art with ThreadBanger
This video is 70's string art tutorial, decor yourself. The way the women is describing, is that you can use anything to do this, get a piece of thick wood, paint it white, use a ruler, and measure halfway, draw a dot. Draw a circle around it, with the dot being in the middle. take nails all the way around the center of the circle, and thread the whole thing, until you turn out with a very beautiful and creative circle design that you can hang on your livingroom wall, theres also other design...
How To: Make a halter dress out of old t-shirts
Of two old t shirts, one is taken and marked from the collar to under the armpit on all four sides of the t shirt. The marked lines are cut along. The shirt is tried on and pinched and pinned under armpit until the right fit and marked with chalk. Both sides of the shirt is cut off and along the chalk line is pinned. A straight edge and chalk is used to make a line from the pin to the bottom edge of the shirt on both sides.Both side of chalk lines are pinned down. The bottom is made even with...
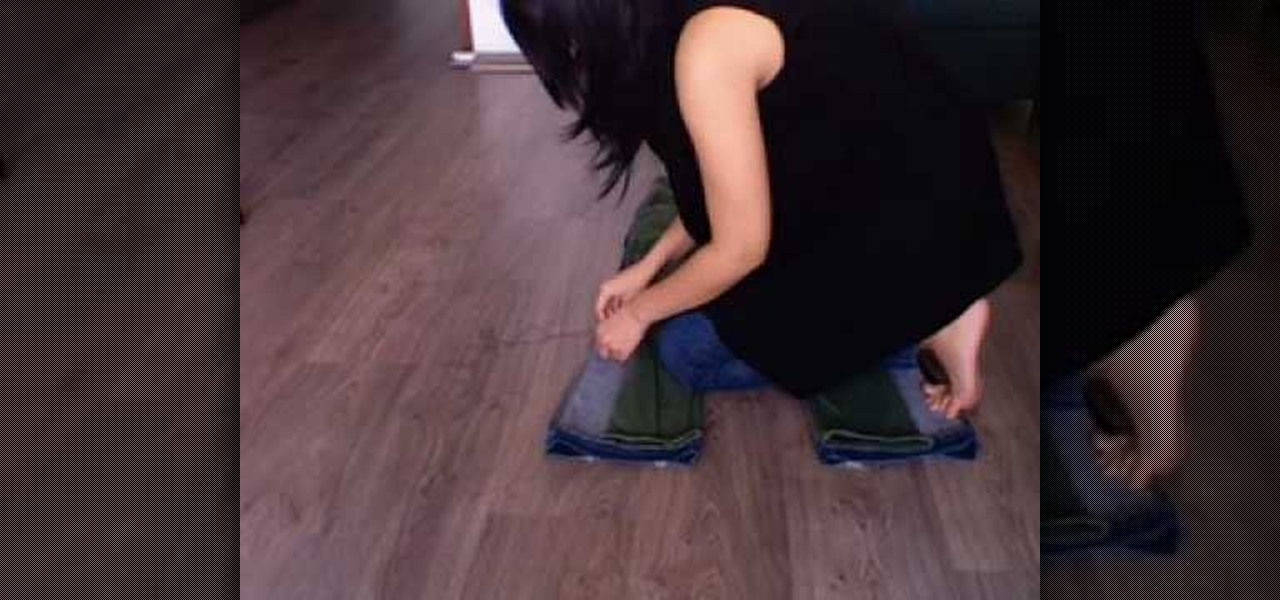
How To: Convert flare jeans into skinny jeans
The great things about jeans is their durability and ability to easily be changed. Some of those changes can involve size, shape, and look. This video tutorial focuses on just that topic. You'll find out how to convert flare jeans into great looking skinny jeans in a snap. Enjoy!
How To: Make a skirt out of shirt sleeves with ThreadBanger
This Thread Banger video demonstrates making a skirt from men’s button down shirt sleeves. Brooksie from Haute Sew presents the technique. Two men’s button down shirts are needed. Cut the sleeves off the shirt at the seams and then split them open at the shirt sleeve seams, leaving the buttons in the middle. Pin the sleeves together along the raw edge with wrong sides together and sew them. The panels can be made to alternate colors or in color blocks depending on the style of shirts used...
How To: Make bleached skinny jeans from old ones
ThreadBanger demonstrates how to make recycled bleached skinny jeans. First, put on the jeans and if they are too big, pinch them at the back and mark them with tailor's chalk. Fold under the jeans at the bottom and mark the desired length with the chalk. Open up the seam of both pant legs with a seam ripper. Seam rip the back part of the jeans and the top band. Cut along the chalked lines. Redraw the seam and pin the pants. Sew along the chalk lines. Use pinking shears to cut away the excess...

How To: Make a peasant (or gypsy) blouse
This video shows how to make a peasant blouse, using a T-shirt pattern from a previous video. Take the front of the T-shirt pattern and cut it out of your fabric. You will need two pieces the same, one for the front and one for the back of the blouse. Save the extra fabric from the neckline to add length to the sleeves. Place the two pieces right sides together and sew the side and shoulder seams.

How To: Make a punctured paper lamp shade with ThreadBanger
This is a video tutorial showing its audience how to make a New York City Skyline punctured paper lamp shade with ThreadBanger. The first step is to gather your supplies. You will need paper, puncturing tools, two wire rings, ribbon, tape, bull nose clips, tape, foam, and scissors. Then you will take your graphic paper and lay it on top of your plain sheet of paper and on top of your foam. Next with your puncturing tools punch holes all around each graphic so that you get your design. Then ma...
How To: Make a vest out of an old men's shirt
Have you found yourself out a bad relationship with an old boyfriend? Did they leave a bunch of stuff at your place including some clothing? Well instead of throwing it in the trash, why not use it to make a cool outfit that will attract other guys to you. This tutorial shows you how to make a vest using an old men's t-shirt. Enjoy!

How To: Make a simple vest out of a scarf
If you're the youngest child and have many older brothers and sisters, it's almost certain you'll be getting hand me downs. If so, this video may be waht you are looking for. Using old worn clothing and making it into something new to wear will not only save you money, but show your other siblings that they shouldn't have given this up so easily. You'll find out how to make a simple vest out of a scarf. Enjoy!

How To: Make your own duct tape dress form
In this Fine Art video tutorial you will learn how to make your own duct tape dress form. This video is from www.thunderlily.com. The materials you will need for this project are an old t-shirt, duct tape, strips of fabric to put around your neck and arms and a pair of gloves. Wear the old t-shirt and stand upright. Tape around the chest and waist to keep your shape as shown in the video. Add extra fabric around the neck. Then tape all over the t-shirt and cover the entire t-shirt. Then remov...

How To: Find the capital to start your own clothing line
The video presents "How to start your own Clothing Line Business". The steps include getting the financing, designing the prototype outfit/s, producing the line of clothing, promotion and sales. A good way of financing for a small business such as this is to sell your idea to family, friends and even colleagues. Research and prepare the business plan for your clothing line and be passionate about it in your presentation to convince them to fund your business. The next step is to get the produ...
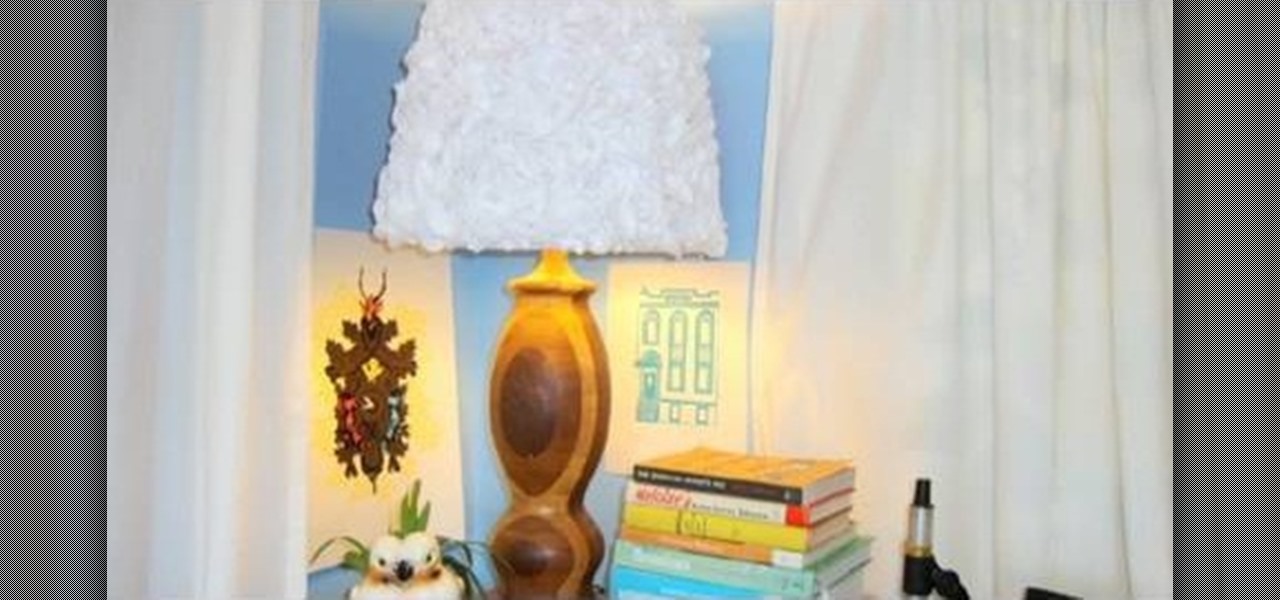
How To: Upgrade an old lamp shade into a blossom lamp
In this video tutorial, viewers learn how to upgrade an old lamp shade into a blossom lamp. The materials required are: 1 1/2 yard of felt, old lamp shade, bias tape, glue gun and scissors. Begin by folding the bias tape in half and iron it down. Then glue the bias tape from the half fold on the top and bottom of the lamp shade. Cut the felt into 3x3" square pieces and then cut them into circles. Fold the felt circle in half and glue it onto the lamp shade. Continue doing this for the rest of...

How To: Make a large hair bow
Hairbows are super cute style pieces. In this video, learn how to make one of your very own. The beauty of making your own bow is not just saving money, you can also personalize it and choose whichever fabric, style and size you prefer.
How To: Make a Gossip Girl Blair Waldorf headband
Blair Waldorf is arguably the most stylish member of the Gossip Girl gang, and headbands are her signature accessory. In this tutorial, learn how to make a Blair inspired hair piece and look like you've been plucked right out of Manhattan's Upper East Side. This headband is funky and cute and won't take long to create. It's also cheap to make, so what are you waiting for?

How To: Make a top hat out of duct tape
Duct tape is so versatile. You can make incredibly cool things out of tape. Duct tape is cheap, tough and sturdy. In this tutorial, learn how to make a very cool project - a top hat! Look just like a punk rock Abe Lincoln with this tall top hat made from duct tape. Get creative - try different colored tape and make fun designs!
How To: Make a paracord bracelet using the cobra weave
A fun type of bracelet is the paracord. It is a heavy duty, unique accessory that is relatively easy to make. In this tutorial, learn how to use the cobra style weave to make a funky looking piece of jewelry. This makes a great addition to your personal style or a wonderful gift. Give it a try!

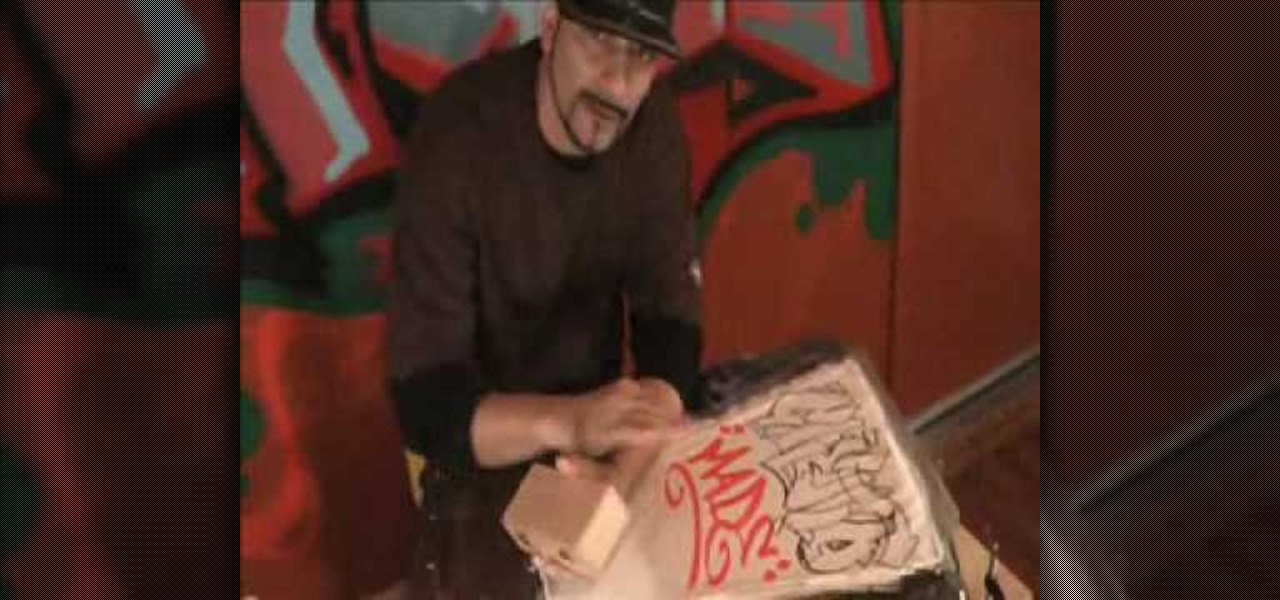
How To: Craft a duct tape book cover
You know how they always make you cover your books in school? Doesn't using a paper bag kinda stink? They always rip by the middle of the school year and everyone has the same one. So, why not be totally unique and make a heavy duty cover out of duct tape?

How To: Create a mummy costume for Halloween
It’s never too early to start thinking about Halloween costumes and you can never go wrong with a classic, mummy costume. This video shows you how to use toilet paper to make a scary mummy costume. You’ll want to cut the role in half and have someone who can help you start wrapping. Wrap any areas exposed like your arms, hands and head. Try adding some fake blood on the outside for a gruesome effect. Don’t forget to leave enough room for you to see and still be able to move around, you might ...
How To: Make a Mickey Mouse tie dye t-shirt
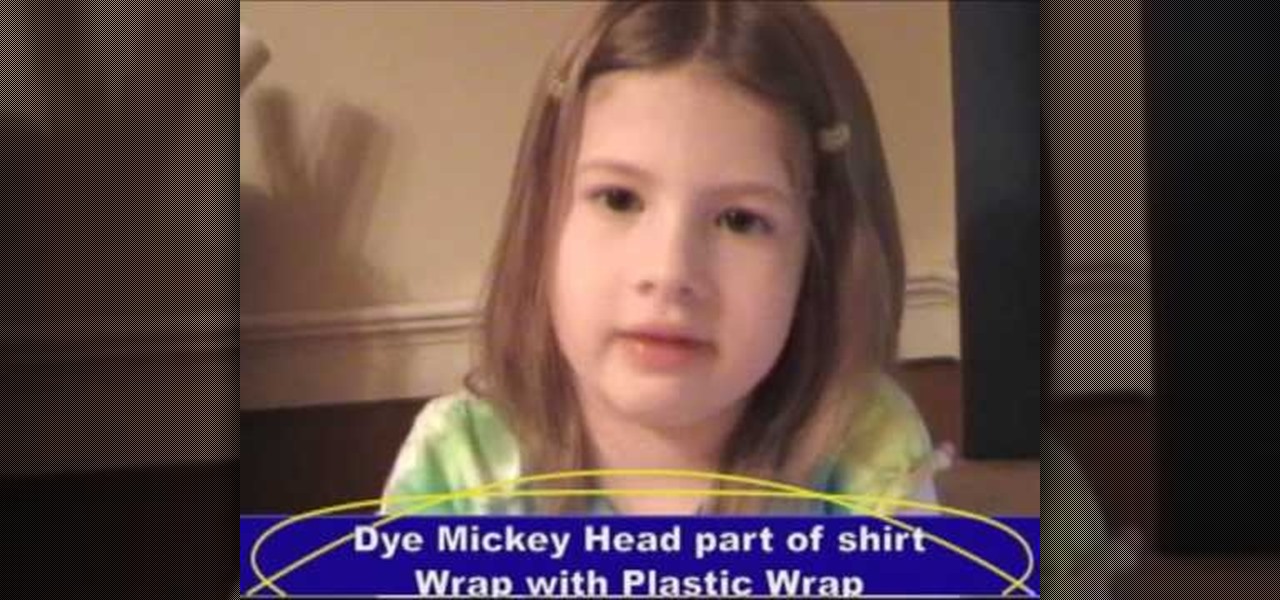
Making a Mickey Mouse tie-dye shirt is as easy as can be. First trace a Mickey mouse outline onto a plain white shirt with a pencil. Using plain dental floss and a needle, sew around the tracing you've just created. For optimal results soak the shirt in soda ash (this step is optional). On the final stitch, pull on the dental floss until Mickey's head "pops up". You will need several rubber bands for the next few steps. First tightly wrap some rubber bands around Mickey's head. Add additional...

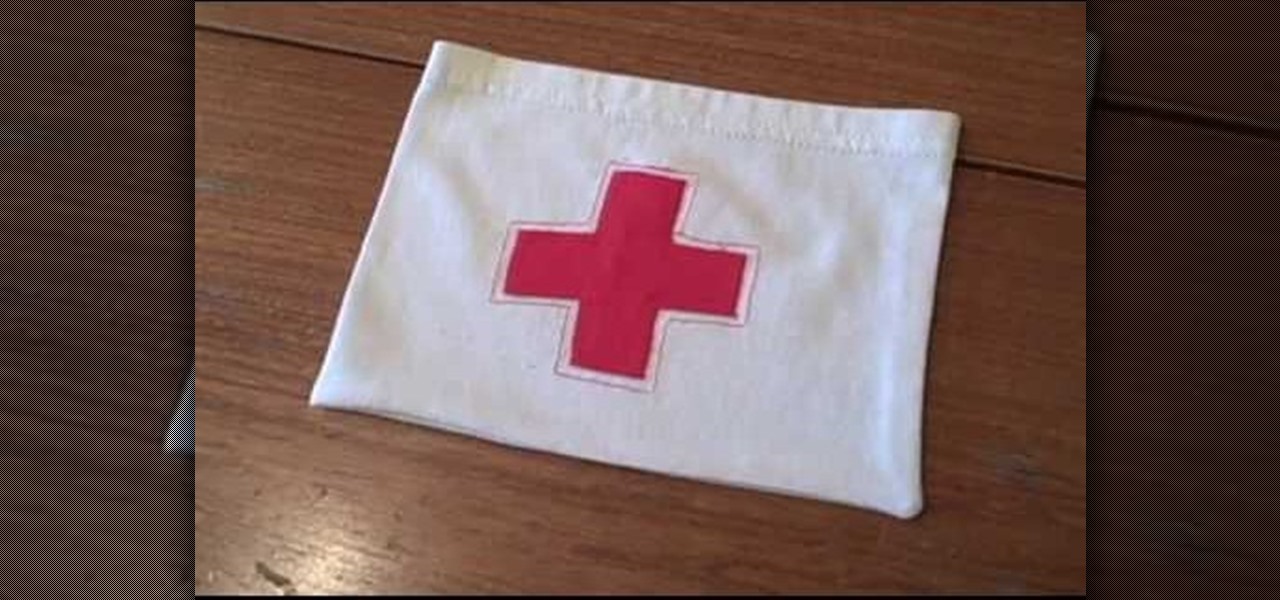
How To: Make a Valentine's Day bag from a handkerchief
This video from "Whitney sews on a budget" shows how to make a Valentine's Day purse or gift bag using a bandana. Begin by folding the bandana in half on the diagonal with the right sides together. Cut it into the shape you would like your bag to be. Pin the pieces together and sew along three sides and turn right side out. Clip out notches from each side so that there will be openings on each side of the casing that you are about to make. Fold the top down about an inch and iron, then fold d...

How To: Make funky yarn pom poms
This video demonstrates how to make a funky yarn pom pom. Take a yarn of your choice that matches your scarf. Take one end of the string and start winding it not too tightly around your fingers. Leave back enough string for the pom pom for the other end. Cut the string using a pair of scissors and set it aside taking care not to mess the ball. Cut another piece of string with appropriate length that goes around the ball of string kept aside. Place the cut string over the table and place the b...
How To: Make a bag out of your old t-shirt sleeve
Whitney shows a quick way to make a bag out of t-shirt sleeves. This bag has so many household uses and is easy to make. You'll need a sleeve, safety pins, scissors, scrap fabric, pins, thread, an iron, and a ruler. Start by cutting a 1 inch wide strip of fabric and any design you'd like. You can make the bag as large as you like. Cut your rectangle using the ruler. Position your design to the fold. Sew around the design you choose, refold your rectangle and pin. Sew along those two lines. Tu...
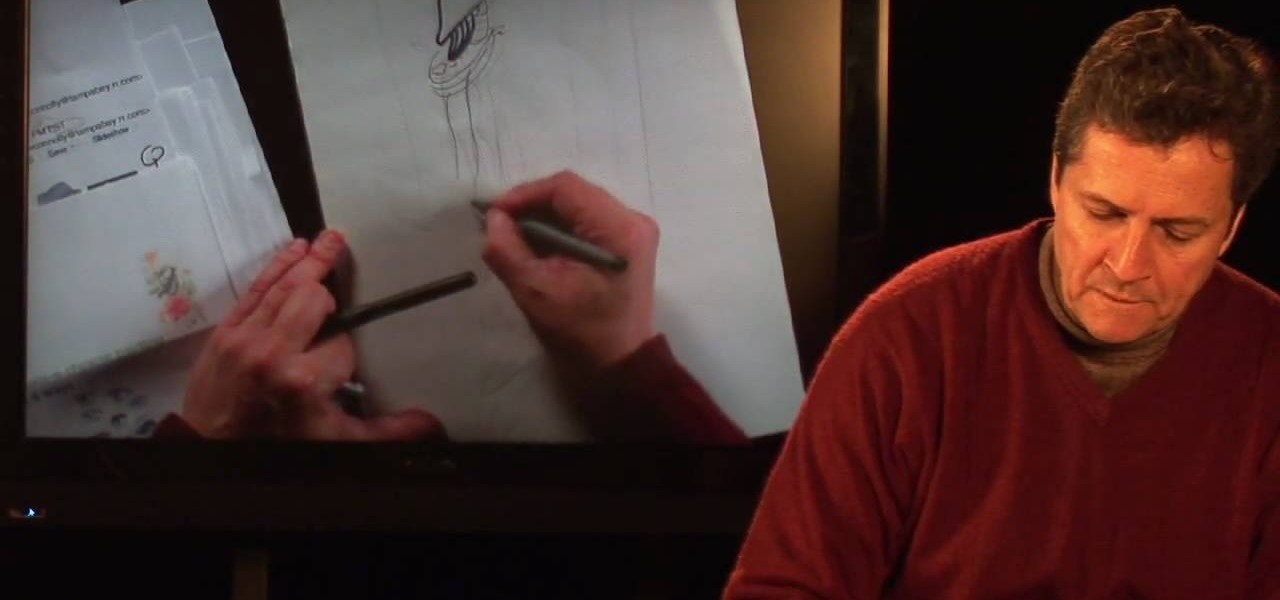
How To: Draw a concept sketch for fashion design
This video shows us the method to draw a fashion concept sketch. You must show the figure of the person you are drawing. You can draw the figure wearing a scarf you have designed. You can draw the flowers on it. A lot of sketches are very long. There are a lot of vertical lines and plates in the sketch. There are long legs at the bottom of the sketch. The parts of the body are not in human proportion. You can draw bracelets and a purse in the sketch. The sketch would be finished with color, v...
How To: Make your own distressed "boyfriend" jeans
In this tutorial, Joey shows us how to man do it yourself boyfriend jeans. All you need is chalk, razor blade, sand paper, bleach, scissors and over sized jeans. First, put the jeans on and mark them with chalk where you want to fray them. Then, let them sit in bleach for 20-30 minutes depending on how faded you want them to be. You can now grab your sandpaper and wear out the area you want to look faded. Also, make cuts in the areas where you want them to be. Let the jeans sit in the bleach ...

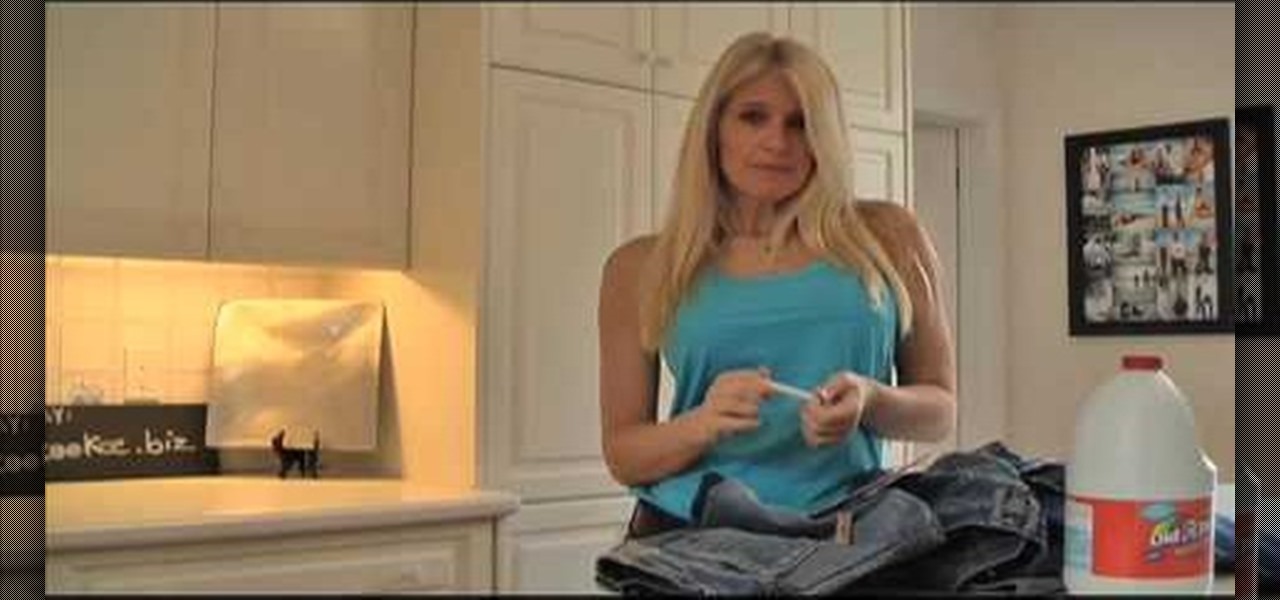
How To: Bleach your jeans with a spray bottle
Fashion Television is responding to viewers request to learn how to bleach jeans. First, you need a spray bottle. Any bottle will do, and you want to fill more than half the bottle with bleach, and the rest of the bottle with bleach. If you use only bleach, you will ruin your clothing. Go outside to bleach jeans because it is dangerous to use it in the home. You must bleach items in a well ventilated areas. All you have to do is just spray the jeans. Wait for it to dry, and if you do not like...

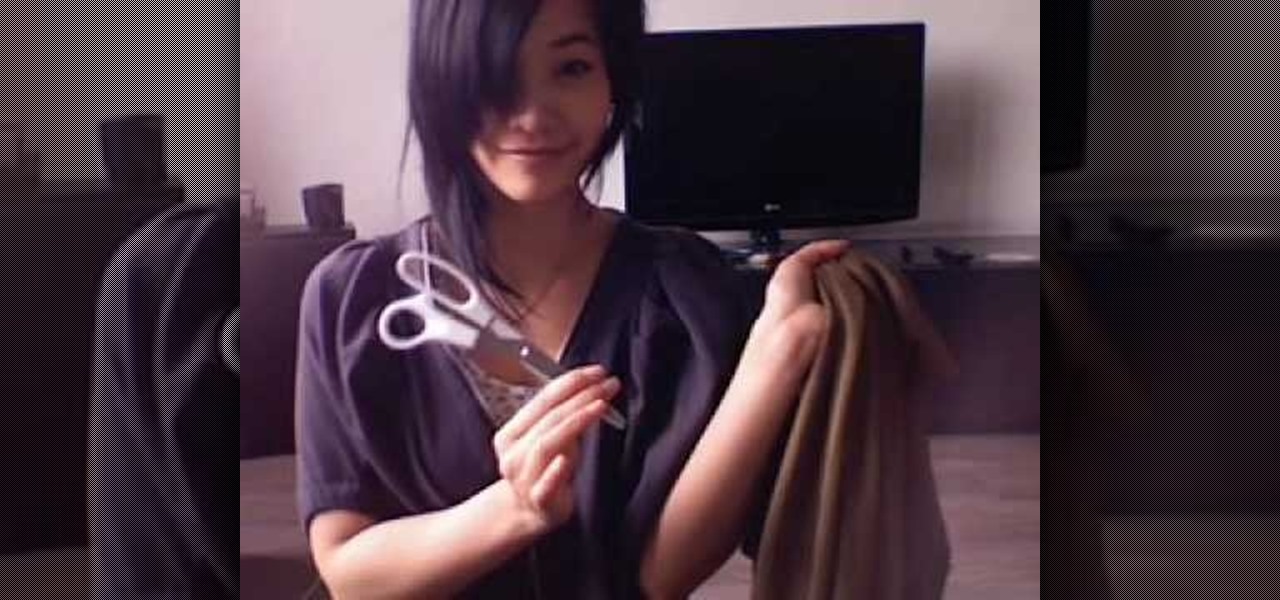
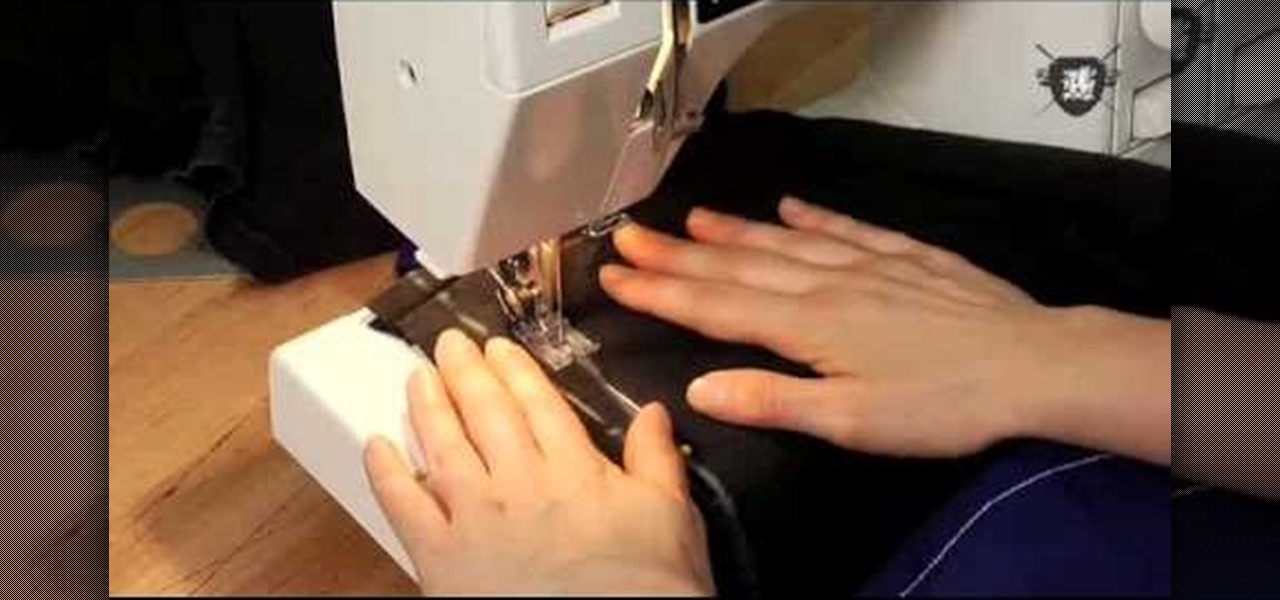
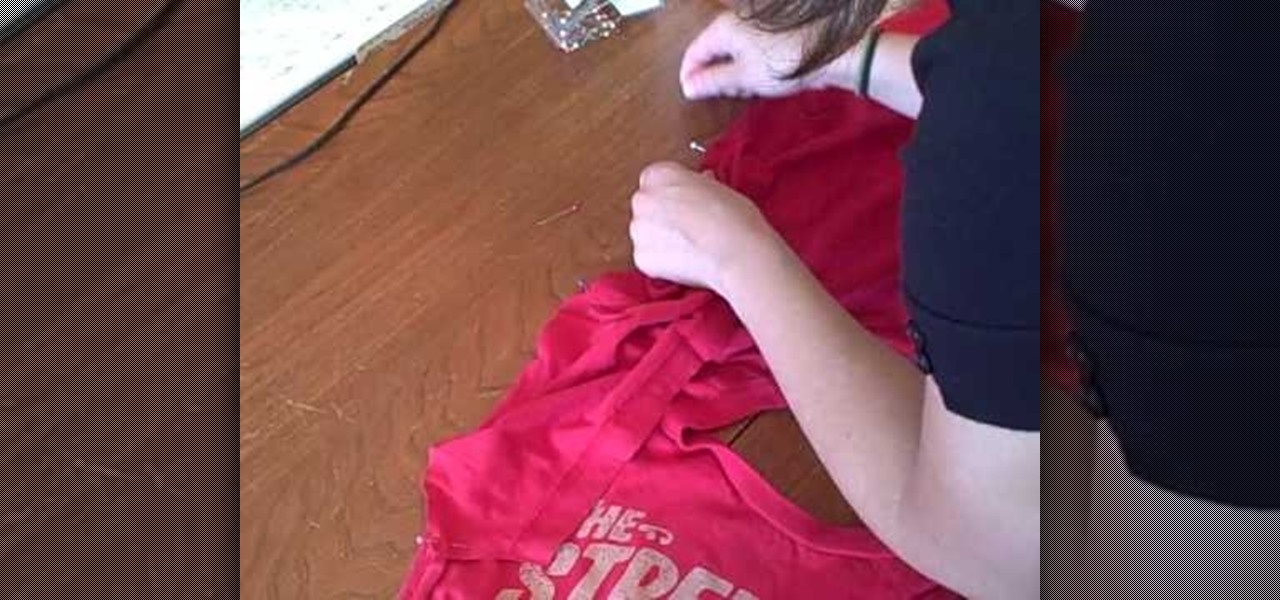
How To: Reconstruct your t-shirt with a fringe design
This video shows us the method to reconstruct your t-shirt with a fringe design. You will need a long fitted t-shirt, scissors and a sewing machine which is optional. Cut off both sleeves of the t-shirt. Now cut the middle of the shirt on only one side. Cut off the collar. Hem both sides of the cut so that you have a clean finish. Now take the scissors and start cutting the fringes. Open the t-shirt so that all the fringes are even. Mark the length of the strips and start cutting. Once you ha...
How To: Make a fashionable duct-tape wallet
Is That All Duct Tape demonstrates how to make a duct tape wallet. You will need a knife, duct tape of any color and measuring tape. First, rip off a piece of tape about 10 inches long. Put the tape sticky side up. Attach another piece of tape sticky side down on top of it half way down. Fold the first piece of tape on top of the second piece of tape. Add more pieces using the same technique until it is 8 inches tall. Trim the sides so it is even. Fold the piece in half. Seal the side seams w...
How To: Distress a pair of jeans with household materials
Missa shows how to ‘Distress Jeans’ in this video. She lays a pair of jeans to be distressed on a table. Next, the creases near the top, which are formed by bending the leg portion of the jean, are marked with a white pencil or chalk. A hard rock is then placed inside the jean, near the knee area. That portion of the jean is graded using sand paper to make holes. The pocket areas are graded next, using a nail file. A pair of scissors is scraped along the edges of the pockets to make cuts. (Al...

How To: Make a tie dye t-shirt dress with ELLEgirl
Joyyan King, Fashion editor and Marsha Welcher shows you how to create a tie dye t-shirt for yourself. A white cotton t-shirt dress is chosen and taken to the work table. Cotton holds the dye well hence it is ideal to go for a cotton dress for tie and dye. Lay out the dress over a table covered with news paper then pinch the center of the dress and twist it to screw it around, the tighter it is twisted the more better the designs would be. After twisting tight it would look like a flower, the...
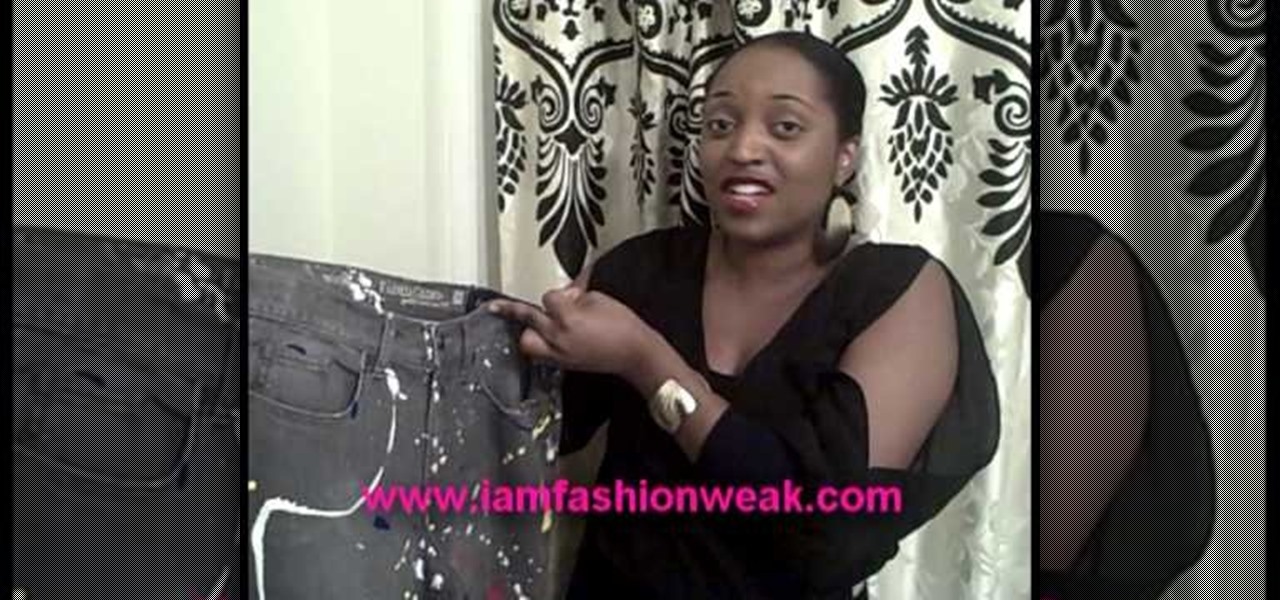
How To: Bleach and paint splatter your own jeans
Angela and Shane from I Am Fashion Weak demonstrates how to bleach and paint splatter your own jeans. All you need to bleach your jeans is bleach and a measuring cup. If you bleach black jeans, you can get tan and gray shades. A bathtub is a safe place to bleach your jeans. Crinkle the jeans and pour the bleach over the crinkled spots until it changes into the color you want. After you bleach the jeans, wash them and dry them. You can also use a sanding technique to give the jeans a distresse...

How To: Bleach your jeans for a stylish faded look
In this tutorial, Tom Howard shows us how to bleach jeans the proper way. This is far better than just placing your clothes in the washing machine the normal way. To do this the correct way, put your water level low (for one item) in your washing machine. Now, make sure the temperature is around 50 degrees give or take 5 degrees. Now, add 1/2 c of chlorine, adding more if you want your jeans to be lighter. Now, leave this is to soak for about 20 minutes and wash your jeans for 30 minutes. Mak...
How To: Make a nuno felt purse
This video illustrates the method to Make a nuno felt purse. You need colored paper, a piece of cloth and a pair of scissors to make it. This process is comprised of the following steps -Step 1Cut a oval shaped figure from the sheet of colored paper. Make a crease in the middle and fold the paper.Step 2Cover the paper with the cloth piece. Stitch the end of the piece of cloth and cut the cloth in a proper manner.Step 3Make the oval shaped figure into a rectangular figure. Add some nuno paste ...
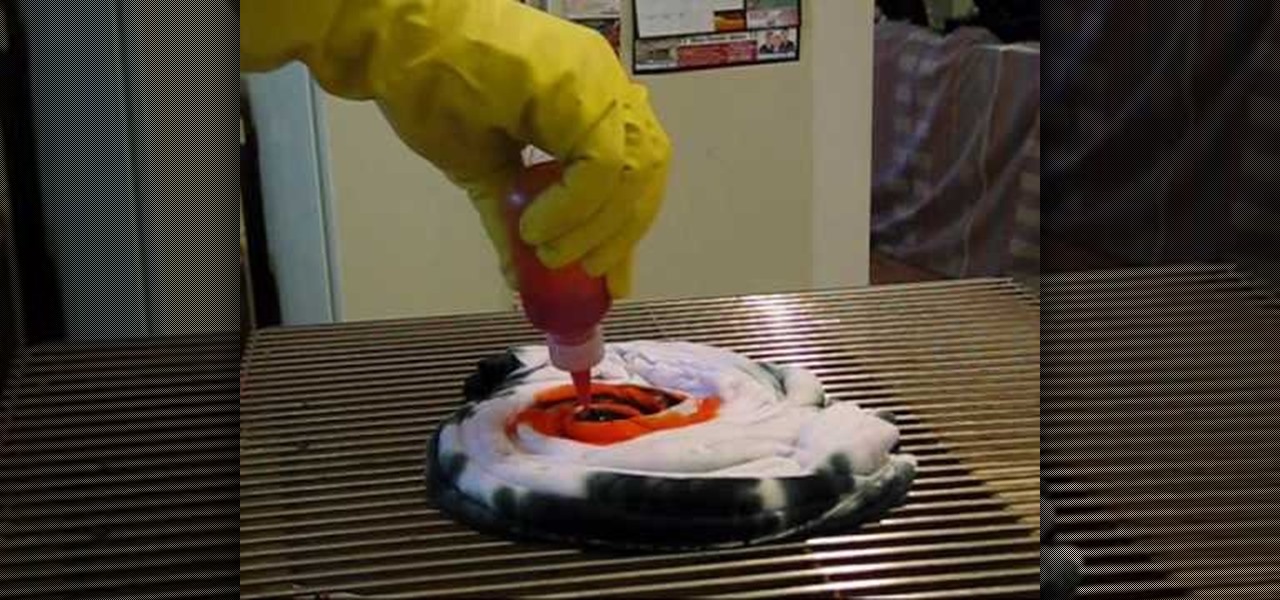
How To: Tie dye the spider design like a pro
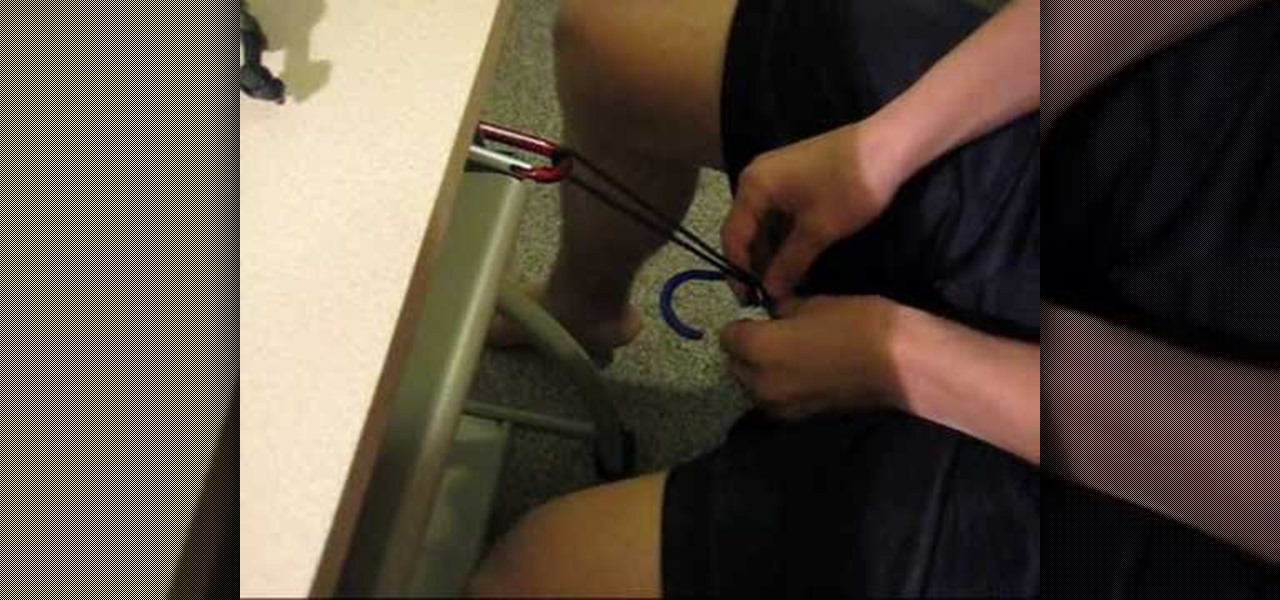
Tie dying a spider design on a t-shirt starts by folding the t-shirt in half vertically. Between one quarter and one half of the way down the shirt grab a piece of the shirt and spin around the table to create a coil of the shirt. Tie a string around the outside of the coil to make sure it stays in a disk. Set a rack on top of some type of basin that can catch liquid to work on the dyeing. Set the t-shirt coil on the clean rack. Take dye that has already been prepared in squirt tubes or syrin...
How To: Add puff sleeves to your shirt
The young lady in this video describes to the viewers how to make "Puffed Sleeves". You can use shirts, jackets, men's' shirts, ladies shirts, just about any shirt to make these on! She starts out with 2 ladies shirts, one oversized and one fitted. She also gathers scissors, thread, straight pins, a marking pencil, paper to trace the pattern on and paste. She then demonstrates how to cut the pattern by tracing the outline of the sleeve onto the paper, how to pin the shirts using the straight ...

How To: Make a novelty duct tape bow tie
In this video tutorial, viewers learn how to make a novelty duct tape bow tie. Begin by cutting a piece of duct tape to the size that you want the bow tie to be. It is recommended about 5-6 inches. Then cut another piece of duct tape the same size and tape it over the sticky side of the other piece. Now fold it about 1 cm down, flip it over and fold it again. Continue folding until it reaches the end. Now pinch it in the middle and tape it to hold the bow tie. This video will benefit those vi...